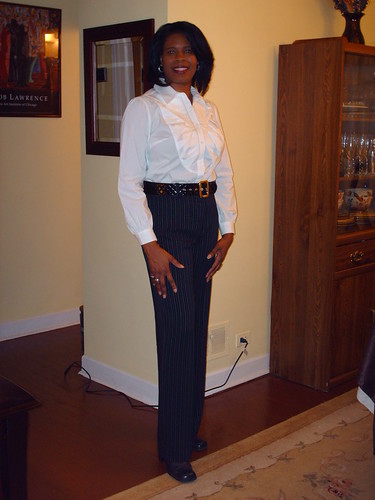

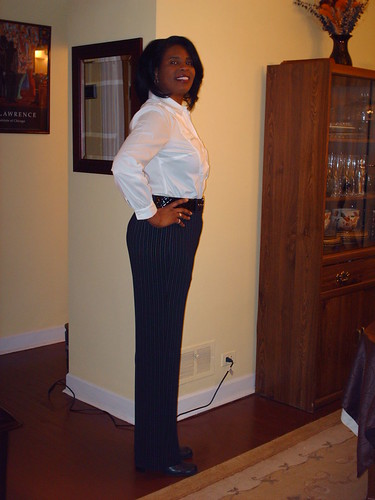
I am so pleased with the results of this pattern and would encourage you to go out and grab a copy. It's a very good fit without going through my usual crotch curve alteration.
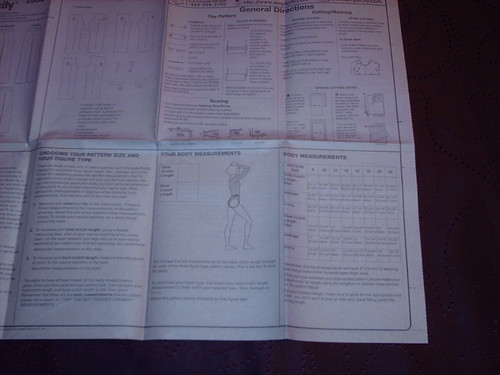
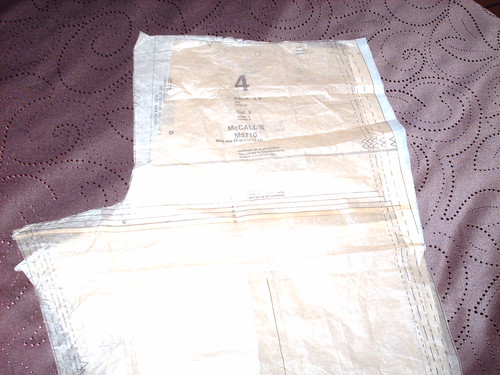
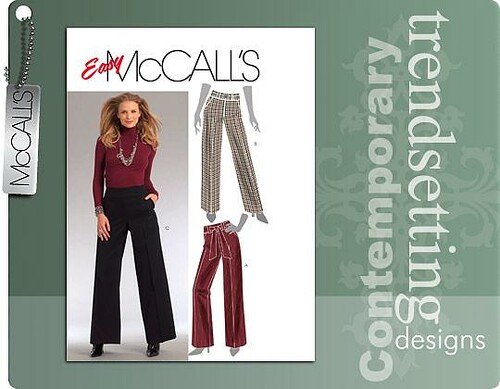
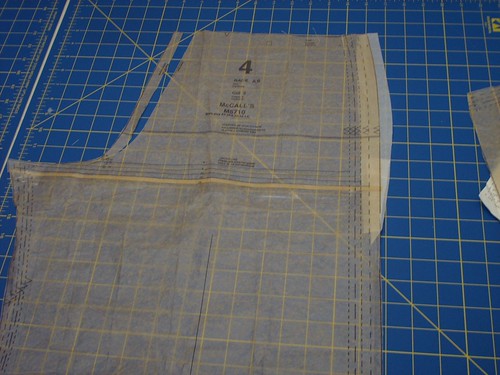
Pattern Description: Misses' pants with individual pattern pieces given for slim, average, and curvy fit. Includes customized fitting instructions.
Pattern Sizing: sizes 8 - 22
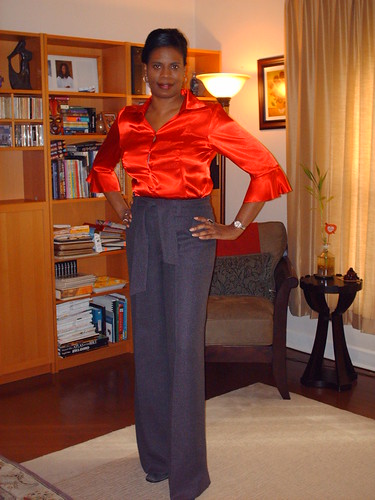
Did it look like the photo/drawing on the pattern envelope once you were done sewing with it? Yes.
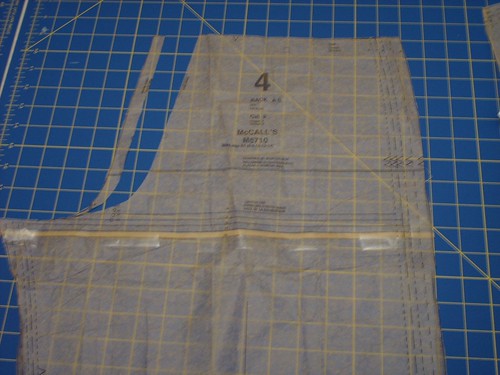
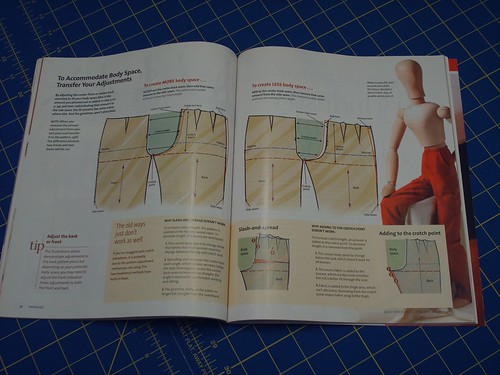
Were the instructions easy to follow? Yes. There was nothing confusing for me. Great instructions -- Several tips were included on how to make fitting adjustments. They lack instructions on making a sway back adjustment to the waistband and the adjustment on the length of the crotch was different from my normal adjustments. See my adjustment method hear. Also see comparison of M5710 and S2860 here.
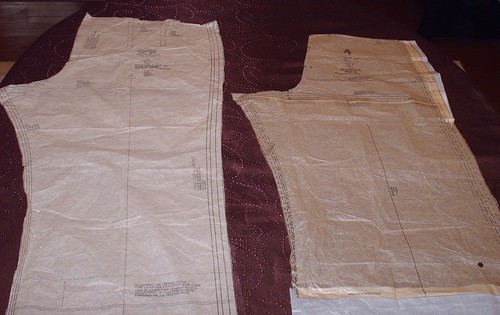
What did you particularly like or dislike about the pattern? There are a few things that I really liked about it. The claim of an "amazing fit" was achieved. The instructions on how to make the fitting adjustments were pretty good. The pattern seam allowances were 1" instead of the usual 5/8", which is a plus when making adjustments. The process of constructing the pants was different from the typical instructions that you see with the big four, applying the waistband section to each piece of the pant before joining the side seams and CB seams.
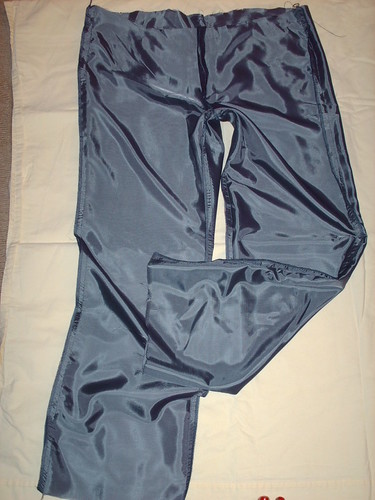
Fabric Used: Polyester Gabardine (Vogue Fabrics) for the wearable muslin and very nice wool suiting from Fishman's Fabric.
Pattern Alterations or any design changes you made: I only made a few fitting adjustments.
- I added approximately 3 inches to the length. The pattern's inseam measured 33 inches, which enable me to put a generous hem the pant.
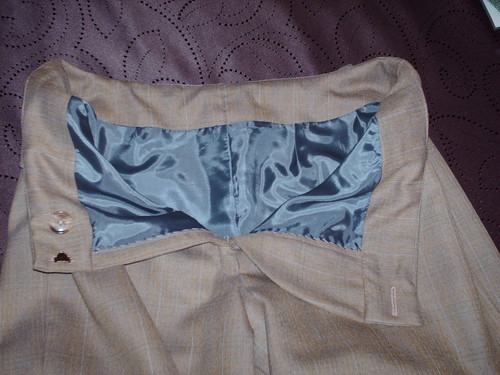
- Sway back adjustment to the back waistband.
- The seam allowances were 1 inch. I ended up sewing at 1 1/4" inch allowance. Based on my measurements I collected the curvy version, but I think the average version would have been better for me as far as wearing ease.
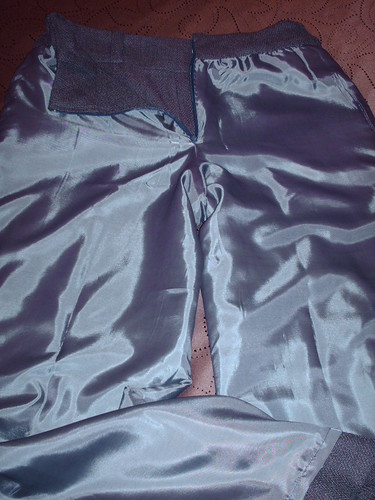
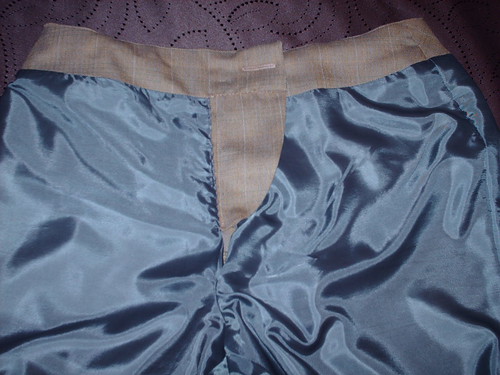
- I added a full lining to my second wear (wool), cutting it crosswise.
Assemble the lining, sewing all seams together except for the CF at the zipper opening; then finishing the edges. The lining was cut 2" shorter the pants.
This time I didn't follow my normal process of attaching the lining to the inside of the pants after attaching waistband; then hand stitching the inside of the waistband. Because of the pant construction, I followed the process below: Pin lining to inner waistband. This was a first for me. Only problem, I had a little trouble figuring out how to completely attach it and secure the waistband.
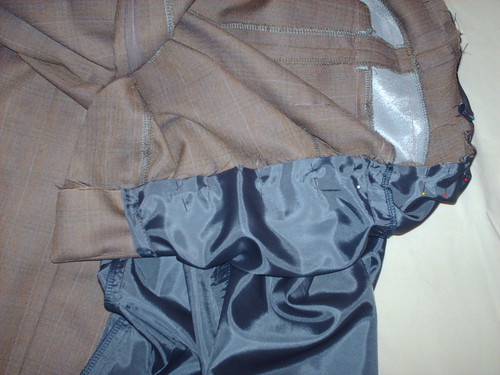
Lining attached to waistband

Next, I attached the lining to the fly/zipper.
There is a slight opening just below the zipper that I didn't attach. During the process I didn't consult any manuals or sewing books. Later I will search for some instructions on making a more polished look.
To secure the waistband, I simply stitched in the ditch of the side seams.

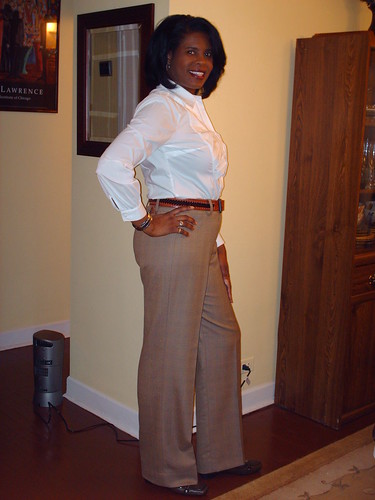
Would you sew it again? Would you recommend it to others? Sure will. This pattern fits very well and can be used as a sloper for altering other pant patterns. Additionally, I can use it to add welt or side pockets.
Conclusion: This pattern offers some great fitting options. It is versatile and can be used as wardrobe builder.