Tuesday, July 12, 2011

Vogue 1250 - The Second Time Around


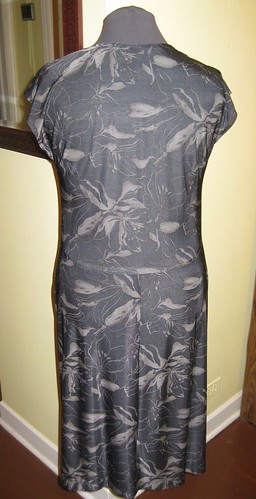
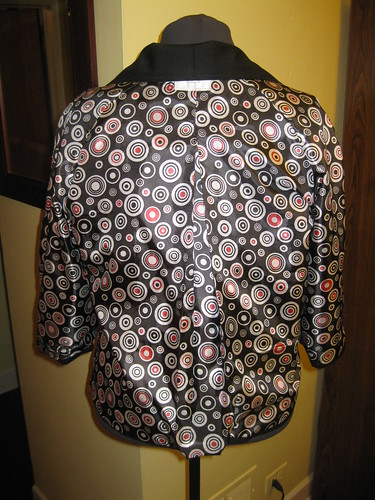
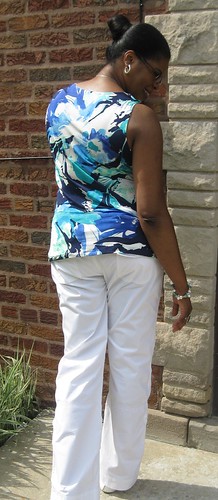
Two weeks ago, I finished my second Vogue 1250 dress. The fabric is a tighter weave than the first dress. So I graded up a 1/2 size to make sure it fits. On the back bodice, three inches above the waistline I scooped out about 1/2 inch hoping to pull the lower back closer to my body. It's better. So, I know many of you have made this dress multiple times. It's definitely the most popular dress pattern of the summer.

Next, I revisited a dress pattern that is as easy as the Vogue 1250. My full review will be posted this evening or tomorrow morning.

Stay Tuned!
C

Monday, July 4, 2011

4th Blogiversary!


Today is my 4th blogiversary and Independence Day. Wow! Exciting! It doesn't seem like it's been four years! It's amazing to look back and see how far I've come since 2007. The first post that anyone commented on was July 23rd. That post featured the faux leather outfit that I made to wear to a John Legend concert. I was kinda of skinny then, to say the least. My photographer's (DD) picture taking skills have improved. My sewing is better too. Some of that credit goes to the fabulous sewing fashionistas that inspire and teach me in the blogasphere.

This next year, I plan to incorporate more couture techniques into my projects. My dress for the Summer Dress Challenge is still not done. I will wear it to a wedding later this month and then again while on vacation. The zipper is in, but the sleeves are not. The final processes are to complete the lining and attach it to the dress. Then I will be done. In retrospect, I think the Summer Dress Challenge was supposed to be something less labor intensive and more something to stay cool in. My dress doesn't exactly fit that description. Since the start of my dress, I've made a few others (quick and easy), several tops, coverups and a cardigan. All will be featured here soon.

So, I hope everyone is enjoying their holiday weekend. It's beautiful in Chicago, and I've enjoyed being away from the office for five solid days. So, beautiful ones, that's all for now. Have a great day!
C

Tuesday, June 28, 2011

Summer Dress Challenge 2011 - Sewing and Fitting PT IV

First, thanks everyone for your comments on my recent sewing projects. As always, I appreciate your kind words.

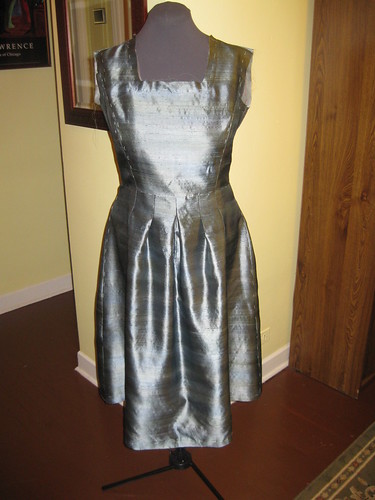
This weekend I sewed and did a preliminary fitting of my Dress Sew Along project. I know I'm already seven days past the deadline, but that's all right. The dress looks good. And I wanted to share my progress.

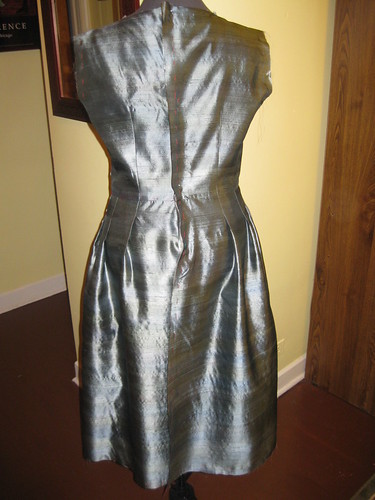
I really like the way this dress is coming together.  Sewing silk is a dream.


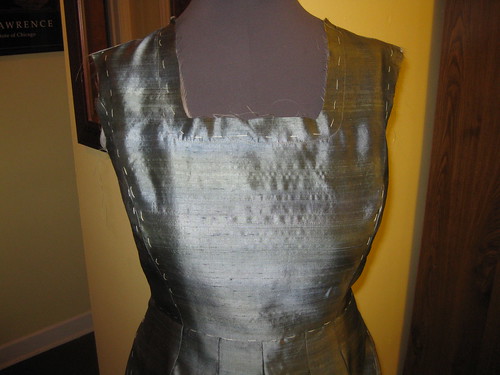
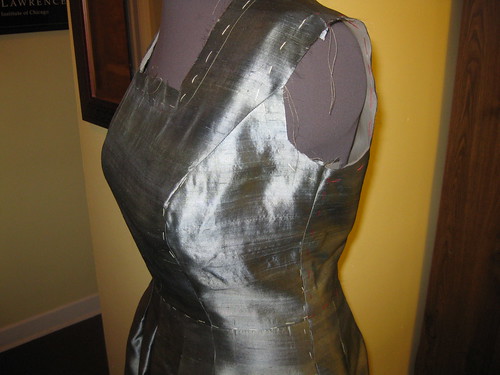
I must admit, sewing the underlining to the fashion fabric was not my favorite part of this process.  My stitches are looonnng. Lol


As I was fitting the bodice, I kept forgetting that I made larger seam allowances to help with the fitting.  The lower armholes crumble in my armpits.  I will trim off the excess before I add the sleeve caps.


No zipper yet.  I thought I had one.  Yesterday I picked up a sage invisible zipper.  May be I'll put it in tonight.


Here's a full front view of the underlining.  It gives the dress a little more body.  The silk is a lighter weight dupioni.  Holding it to the light, I can see through it.  So the underlining and lining will make the dress opaque.


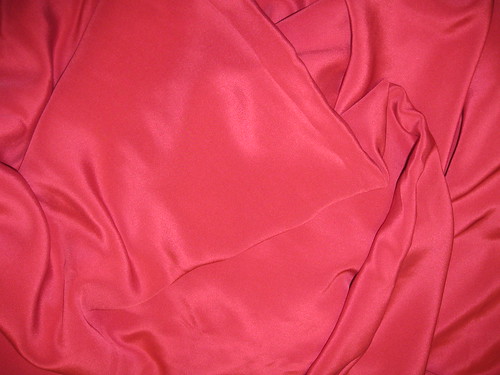
Parting Shot:  My friend, Patti Ferguson, gave me this beautiful 4-ply silk charmeuse.  The Haute Couture Club has a "Sew Red" challenge this fall.  I'll use it for that challenge.  Thanks again Patti.


By next week I should have the zipper and the sleeves in.  May be I'll have the lining sewn together as well.  Until then, Happy Sewing!
C

Friday, June 24, 2011

Jewel Box Friday - Pandora Bracelets


I've been tossing around the idea of doing a weekly post about jewelry. My DD makes costume jewelry, sometimes with semi precious stones and sometimes with gold and/or silver. She always coming up with interesting pieces. And of course, I'm always willing to "model" and sometimes buy the jewelry.

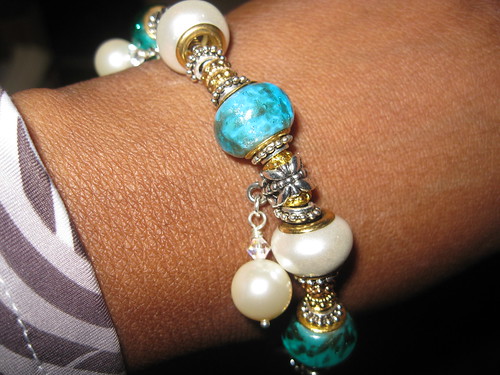
The latest creations are her version of the Pandora Bracelet. She and I have spotted the bead laden bracelets on celebrities (pictured in magazines). Everyone is wearing them. Here are few that are in my jewelry box.


The beads can be purchased at Fire Mountain Gems or Oriental Trading Company. Below are two more one for me and the other for me DS.


So, what do you think about Pandora Bracelets?

Thursday, June 23, 2011

V1100 Black and Red


V1100

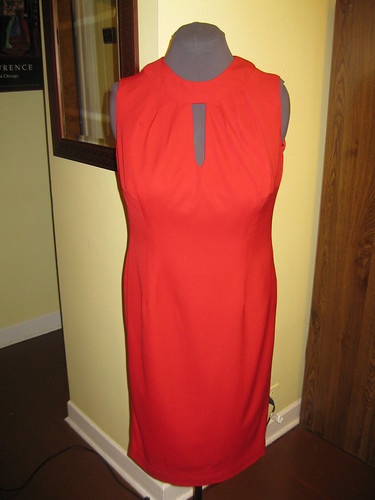
I finally finished this outfit. The dress took the longest. During the process of making it I had a few pitfalls. For one, I should consider the possible issues with the neck band and the fabric weight. It would have been better to use a light weight fabric. It was a challenge to create a smooth neck band. A few months ago I got this bright idea that I needed to go up a size for a little more room (easier fitting). Wrong.., This is the third dress cut at size 16 that turned out to be too big, especially above the bust line.

The good thing is; I finished both pieces. Now I can finally wear them to work. I know it's summertime. But I live in Chicago. One day it's 95 degrees and the next it's 70. So I will have opportunities to wear it before the fall season comes.

Pattern Description: MISSES' JACKET, TOP, DRESS, SKIRT AND PANTS: Loose-fitting, lined jacket A has two-piece collar, two-piece, three-quarter length raglan sleeves with cuffs, front princess seams, mock welts, inverted back pleat, slightly flared back hemline and single buttonhole and button closure. Semi-fitted, lined top B or below mid-knee, straight dress C has neck band, front pleats and back zipper. C: center back hemline slit. Straight, below mid-knee skirt D has raised waistline, back zipper and back hemline vent. Straight pants E have back zipper, waistline is finished with grosgrain ribbon. Purchased belt.

Pattern Sizing: Sizes 6 to 20. I made size 16 scaled down to a 14 with modifications.

Did it look like the photo/drawing on the pattern envelope once you were done sewing with it? Yes.

Were the instructions easy to follow? The instruction were okay. Vogue did not provide instructions on how to finish the neckband. I slip stitched it closed. The next item is not a change in the construction. The jacket has a back pleat and it's lined. The instructions are to leave the lining separate from the hemline. I connected it. Then I noticed that the lined opened pleat looks a little wonky, but it hangs well.


What did you particularly like or dislike about the pattern?
Dress - I liked the neckline; keyhole and the pleats. I dislike the bulkiness of the neck band. It hard to get a smooth finish.
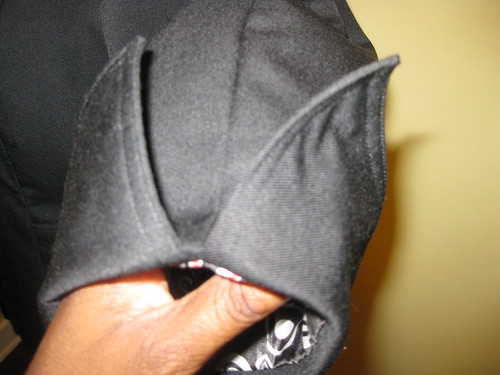
Jacket - I like the pleated back, the cuffs, and the two piece collar. Having two separate pattern pieces for the collar is great; the upper collar slightly rolls under to create a nice finish. This is not really a dislike of the style or pattern, but I wish there were instructions on how to attach the lining to the jacket with pleats.


Fabric Used: Red wool and lining from New Rainbow Fabrics. Black wool from Bubby's. Jacket lining from JoAnn's.

Pattern alterations or any design changes you made: I did my usual adjustments plus cutting at a larger size. Then scaling the dress back down to size 14. For the jacket, the instructions say you should top stitching the entire hemline. I only top stitched to the seam line of the front side. I also sewed the lining to the hem of the jacket.

Would you sew it again? Would you recommend it to others? I probably won't sew this again. I have a lot other patterns I want to try. The dress is a silhouette that is common in many of the dresses I sew. The jacket is somewhat different for me. It's a good compliment to my current wardrobe. I like the look of both garments. If this is your style of dress and/or jacket, try it. Be careful with the neck band. You want to achieve smoothness. It is a focus point and a less than polished look will draw attention. Also, I don't think many people can make this straight out of the envelope. It may be a good idea to make a muslin.

More Pictures Here.

Conclusion: This pattern has good bones to it and is worth a try. This five piece wardrobe is a good choice for complimenting your work gear. The jacket can be worn over other similar styles.

Monday, June 20, 2011

M6078 - Easy, Cute Top


I'm still not finished with the Summer Dress Challenge. I took a good look at the projects started way back when and decided I needed to do some damage control. No more UFO's. This top and several others were sitting in the bag.

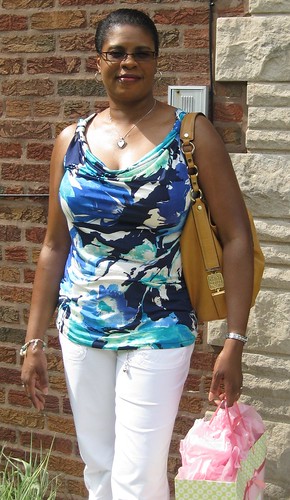
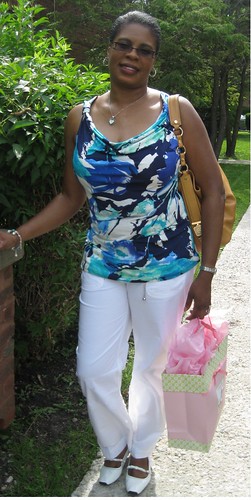
I needed/wanted a new top to wear to a baby shower on Saturday afternoon. So I quickly sewed up this one. Yes quickly. It took about two hours.

M6078


Pattern Description: Misses' tops: Top A has front and back stitched pleats, front drape, lapped back and extended shoulder seams; top B has stitched front pleats and drape; top C has front drape and contrast loops.


Pattern Sizing: Sizes X-Small to X-Large; I made size M; view C.

Did it look like the photo/drawing on the pattern envelope once you were done sewing with it? Yes. I didn't make contrasting loops.

Were the instructions easy to follow? Very easy. All levels can make this top.

What did you particularly like or dislike about the pattern? I like the drape neckline and the ease of making this top. Dislike: None.

Fabric Used: A four way stretch knit from Vogue. This was in my stash.


Pattern alterations or any design changes you made: I only added 1/2" to the side seams and a few inches to the length. For the side seams I slightly tapered in after the bust area through the waistline.

Would you sew it again? Would you recommend it to others? I plan to make the another views. When I don't know. I still have a bag of knit tops to sew plus a few dresses. But I recommend it to everyone. It's easy to sew and comfort to wear. No fuss and stylish. You can't beat that.


Conclusion: This a stylish top that is easy to sew. A beginner can make this with no problems.

Tuesday, June 14, 2011

Summer Dress Challenge 2011 - Marking, Aligning and Basting Part III

I think the today is the last day for the Dress Challenge. I'm no where close to finish. Oh well..,

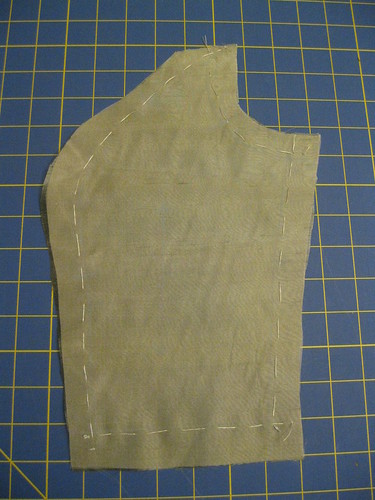
The next step in the process of underlining is marking it. The underlining is the canvas for marks to guide stitching. I cut the underlining first leaving the seam allowances wide to allow leeway in fitting and design. Pictured below is the front bodice, which is cut on the fold. I apologize for the lighting. The markings aren't clear, but I hope you'll get the general idea.


Mark all stitching lines. They can be referenced from a muslin that was used to fit the garment. Then copy every detail:  notches, grain line, and circles.

The next step (not pictured) align the fabric and underlining. Match the grainlines. Be careful. Make sure nothing gets trapped between the layers. Next pin in the seam allowances. The pins should be perpendicular to the stitching line. Finally, smooth the layers. Check and repin as necessary.

Baste the layers together.

After the alignment process is finished carefully baste the layers together by hand. Do not machine stitch. Hand stitches gives you better control in keeping the layers from shifting.

Use rayon or silk thread. It goes in smoothly and pulls out easily when it's time to remove it. Use new thread for every line. You want one continuous line of thread for each seam. Go pass the points of intersection to give yourself a clear indication where the seams cross.

After all pieces have been carefully marked, aligned and basted, sew everything together for a fitting.


Other Considerations -

  • Let bias cut-layers hang before joining. 
  • You can shift color with underlining.  Off white organza is unobtrusive.  But a pale pink matched with chocolate underlining changes the color to rum pink.

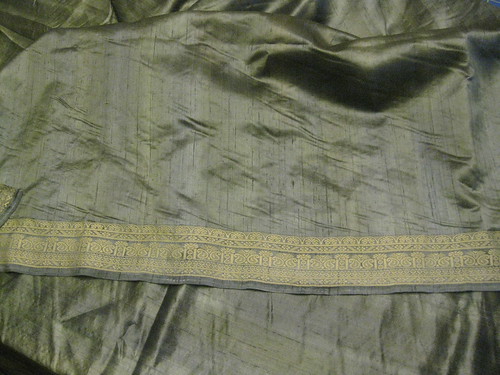
My fabric has a boarder print. I'm not using it in the dress, but I will use it for the sash. My next steps are to sew the dress together for fitting. Maybe I'll have it finished by the end of the month.


Happy Sewing!
C
LinkWithin

Blog Widget by LinkWithin