First I want to start out by saying this is a loonnnng review. I made several changes and want to include some quick, pro, and sew tips. I'm hoping this review will help other sewists with making jeans.
I started a series, June 2009, on
making jeans to document and set some standards for myself for making jeans for myself and DD. Last spring while admiring the many, many patterns I own, I rediscovered a
Palmer & Pletsch jean pattern c1981. I used this pattern, back in the day, to make jeans for my mom. As I started to read all of the tidbits in the instructions, I realized this pattern contained a treasure trove of tips that many would like to have. So on that note, let me get started with the review.
Pattern Description: MISSES’ LINED JACKET AND PANTS: Fitted, lined, above hipline jacket with flounce has separating zipper and pockets with band and zipper, princess seams, standing collar, two-piece sleeves with cuffs; jacket A has contrast bands, cuffs and collar; pants C with side slant pockets, below waistline contour waistband and mock fly zipper opening.
Pattern Sizing: 4- 16. I used size 14 with several modifications.
Did it look like the photo/drawing on the pattern envelope once you were done sewing with it? The design lines looked pretty much like the pattern cover photo. There were a few details that I omitted and/or changed.
Were the instructions easy to follow? There was nothing difficult or confusing about the instructions or construction of the outfit.
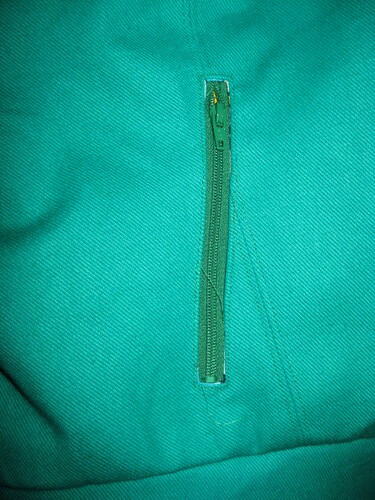
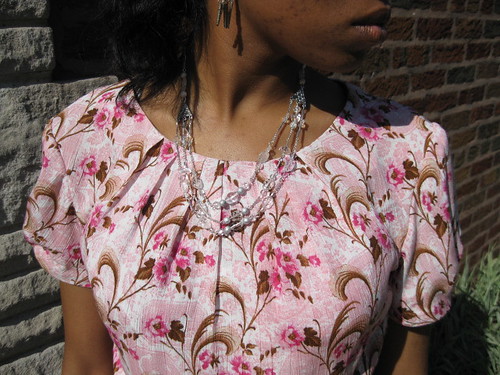
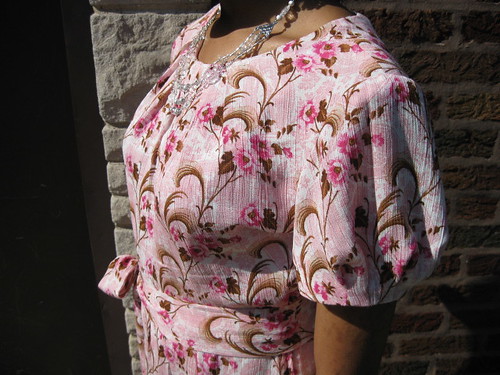
What did you particularly like or dislike about the pattern? I particularly liked the design of the jacket: the peplum and the pockets with zippers. Nothing to dislike.
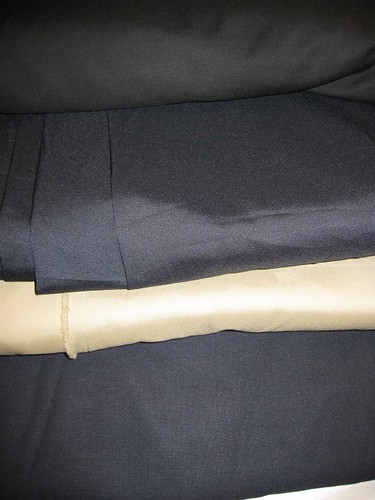
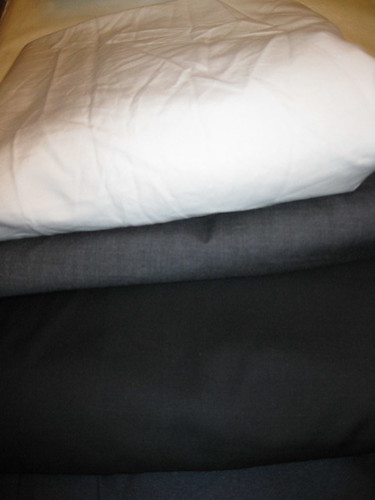
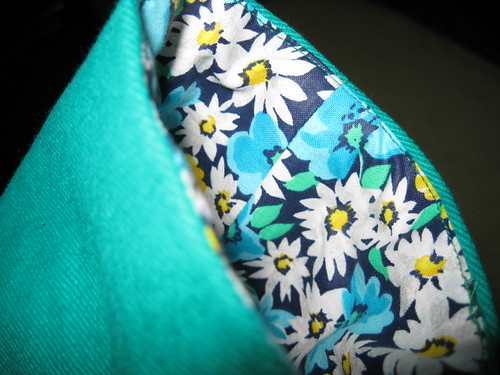
Fabric Used: I used an apple green demin that my Dad gave me several years ago. For the lining, I used a floral cottonthat's been in my stash for over 15 years. Originally bought to make DD (little DD) a blouse. Both were pre-washed and dried on hot to pre-shrink the fabric.
The suggested fabric for the jacket is faux leather or suede. Of course I used demin for jacket and pants.
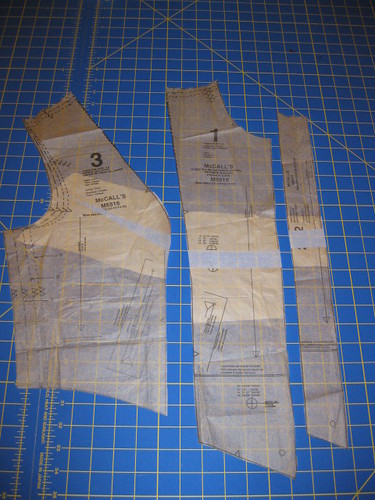
Pattern Alterations or any design changes you made:
Jacket -

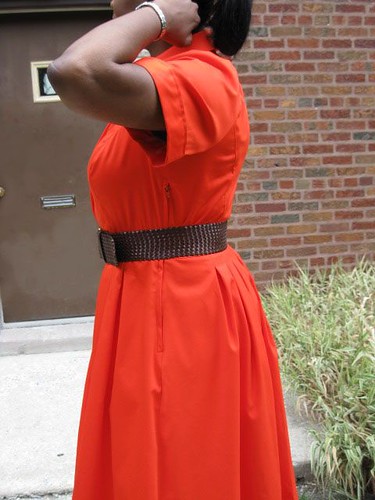
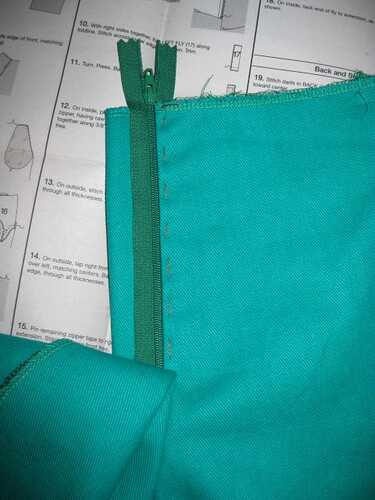
I did a FBA to the front jacket pattern pieces. The jacket calls for a 16 inch zipper, because of the FBA I had to install a 18 inch zipper.
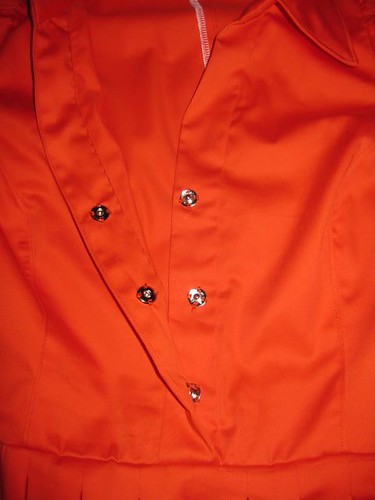
I didn't use the front band or the pocket band. If I had used faux leather or suede I would have. But for the demin I skipped it.
There is a lot of top stitching in the construction of the jacket. I omitted the top-stitching at the shoulder seam. Not on purpose; I simply forgot about it. When I realized I had omitted it, the jacket was finished.
I omitted the button on the cuff.
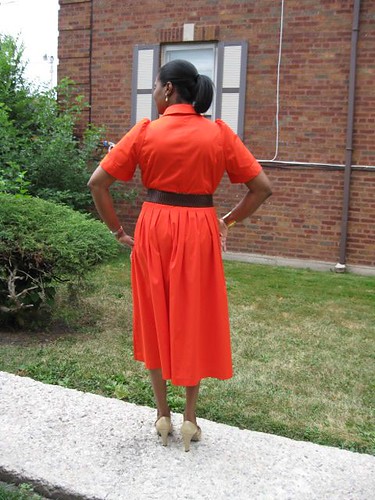
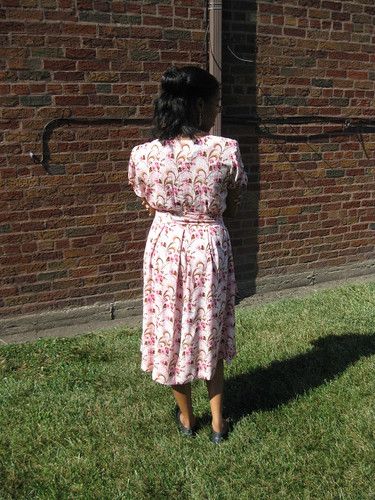
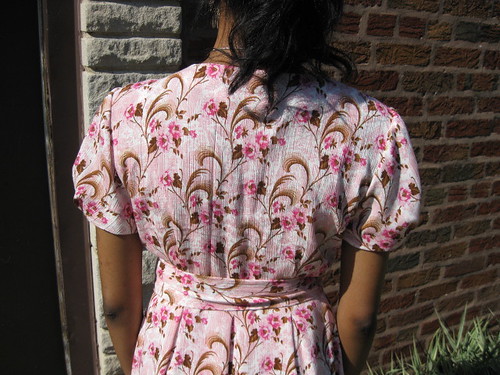
The peplum wasn't as long as I thought it should be.

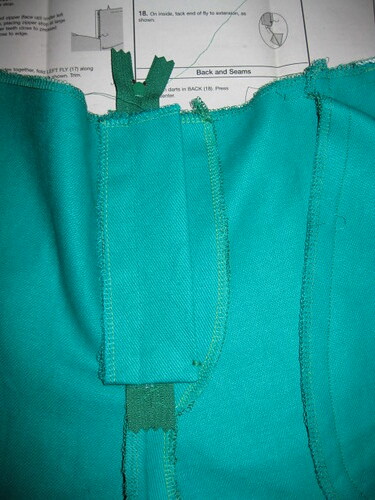
Back of jacket showing overlap of peplum. There should have been a little more over lap at the center back. Additionally, I ease the bottom of jacket to fit the peplum.

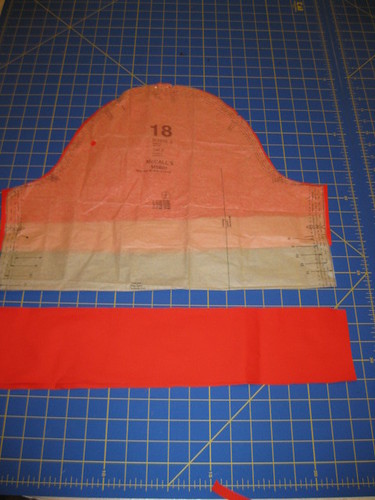
Inside sleeve cuff didn't have enough fabric to make the inside. So I used the lining fabric for it.
Pro Tip - When pressing, roll seam slightly toward facing side so it won't show.
Pants -
The pants pattern included is really not a jean pattern, but I made changing to incorporate the stylings in a pair of jeans by:

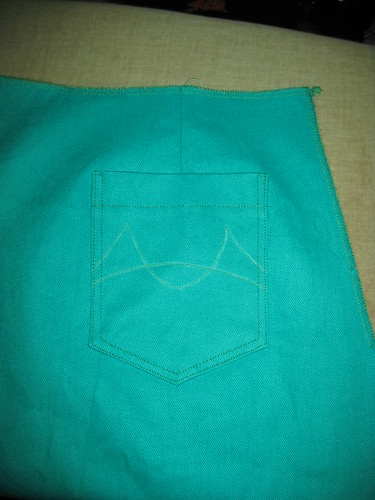
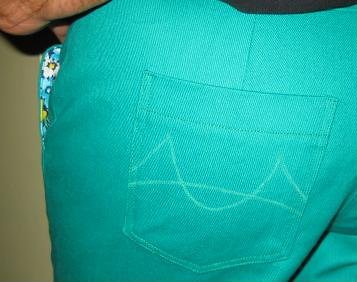
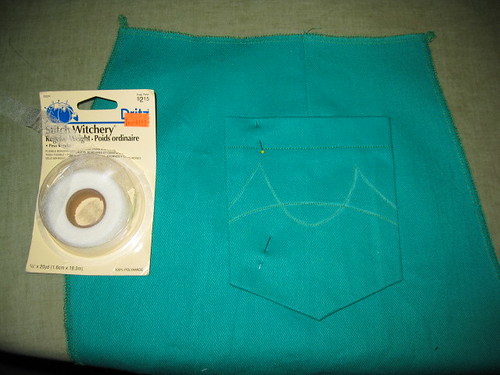
Adding pockets to the back pants and following some construction method in the M7555 instruction sheets.
Back pocket sewn to back pant.
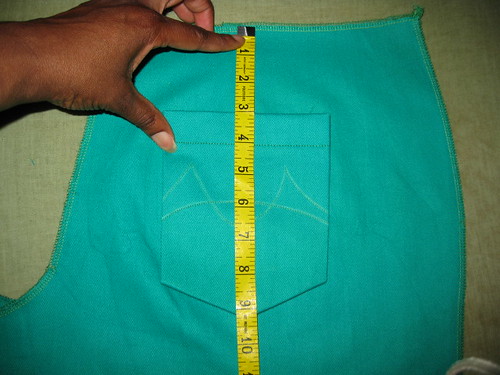
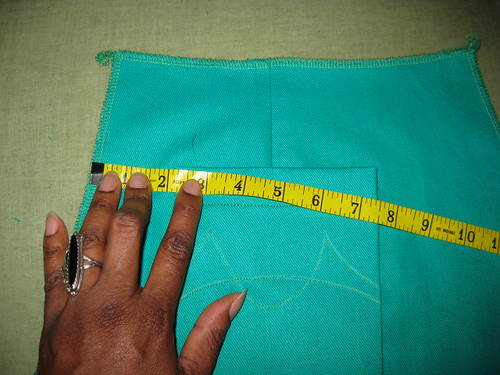
Sew Tip - Know your presser Foot - It makes top-stitching easy! Measure the presser foot. Most are 1/4" 6mm, from needle to outside edge. Most top-stitching is done 1/4" 6mm from the edge, so the edge of the foot is your guide. If your presser foot measures 3/8" 1cm stitch 3/8" from the edge.
Sew Tip - Stitch row closest to edge first, then using presser foot as a guide, stitch the second row 1/4" 6mm away.
Quick Tip - Instead of breaking stitching who you edge stitch and then top stitch, make the row of edge-stitching then pivot and stitch across; pivot again and top-stitch to complete the second round of stitching.
Would you sew it again? Would you recommend it to others? I'm not sure if I'll sew this particular pattern again. I have so many pattern to try. But I will follow some of the techniques: adding zippers to pockets (first time) and instructions on sewing synthetic suede and leather. I would recommend trying this pattern to others if you have it. It's out of print.

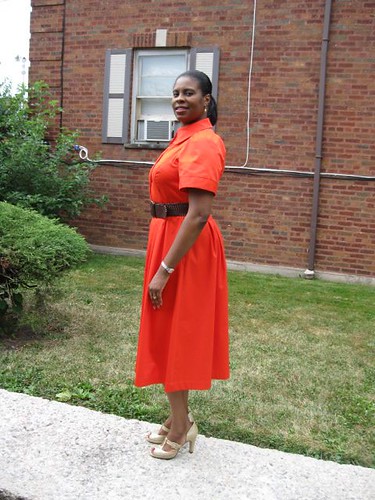
Conclusion: I like the grean jean outfit. Am glad I was able to finish it before the end of summer. The pattern is not different, but requires a little patience with the top-stitching, pockets, lining, and facings.
My flickr set on the makings of this outfit.