Wednesday, January 26, 2011

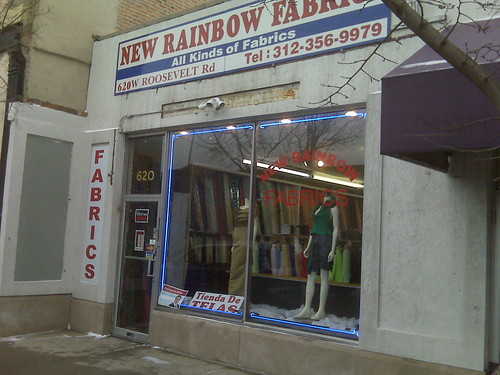
The New Rainbow Fabric Store on Roosevelt Road


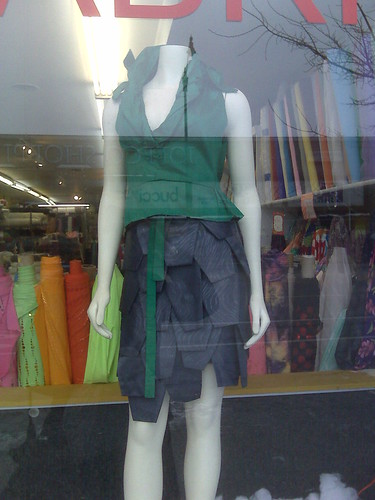
Here is another Chicagoland store review. I think you will really like this shop. It is located directly across the street from Vogue's Fabric (#2).


New Rainbow Fabric Store
620 West Roosevelt Road
Chicago, IL 60607
312-356-9979
www.newrainbowfabric.com
sales@newrainbowfabric.com


After shopping at Vogue Fabrics, I decided to check out New Rainbow's new location. They were previously located about three doors east of the new location. The store is larger and has more fabric.


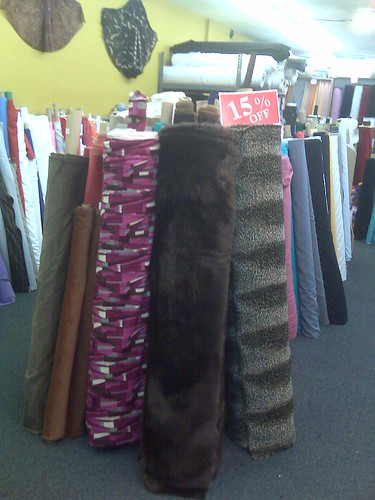
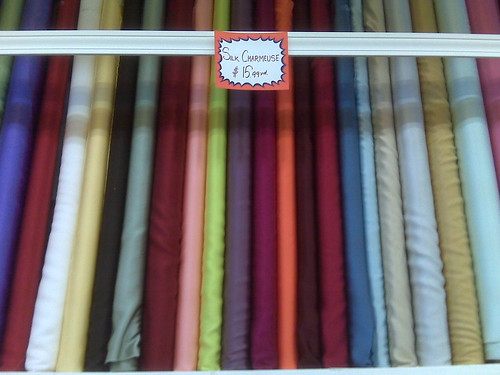


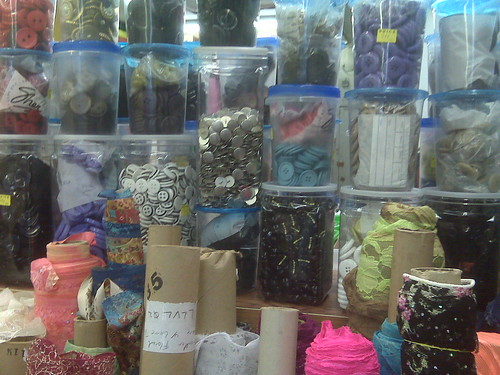
The prices are competitive and the beautiful fabric is well organized. The staff is all smiles and very ready to assist you. There isn't anything to dislike about the shop. It's clean and well lit. They also stock assorted notions: buttons, trims, rhinestones.


I didn't buy anything during my visit, but I will come back soon. I saw a few fabrics I'd like to purchase. DD saw a few things she'd like to have as well.

If you are planning to come to Chicago for the May, 2011 PR Weekend, this is a good shop visit. On Roosevelt there are several stores within walking distance: Vogue's, Fishman's, and I. Sach's. I'll continue to scout the area for other shops.

BTW- I told the owner about the upcoming PR weekend and that I would like to post a review on my blog about the store, she kindly gave me a hand full of coupons to share.
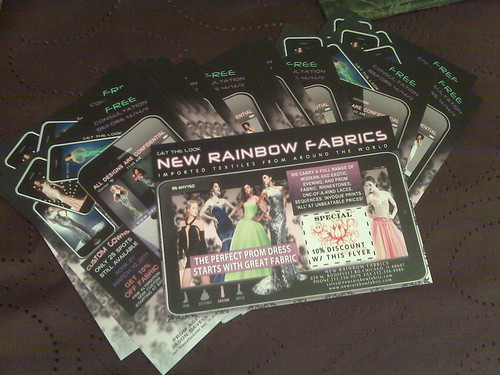


So sewing queens, that's all for now.

Stay Tuned!

Friday, January 21, 2011

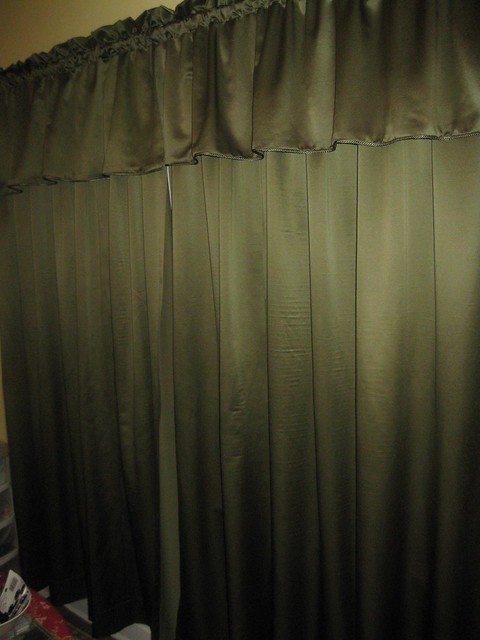
Curtains for the Dining Room - No Pattern Needed


Last week I finished the curtains for my dining room. I wanted something simple and these were very simple and did not require a pattern to complete.

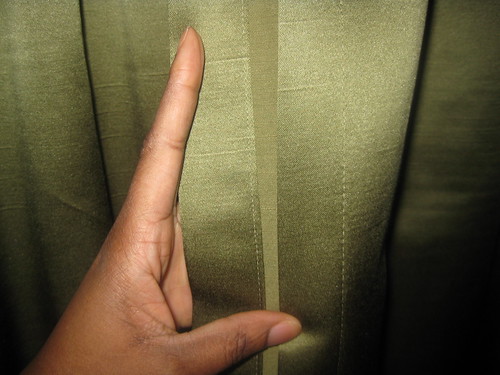
To start I purchased 10 yards of the desired fabric. For each panel I cut 2 1/2 yards plus other piece cut 2 1/2 yards long that was half the wideth. I sewed the two pieces together with a french seam to hide all edges.


Each edge was finished with a 1 1/2 inch hem turning in the raw edges for a clean finish.


The bottom was finished with a 5 inch hem, concealing the raw edges as well. And finally the top was finish basically the same but wider and with rows of stitching to create a pocket for the rod.

To finish the set, I made two valances with cording along the bottom edge.


These were cut the desired length (I cut two pieces of fabric 1 yard in length). For each, I attached the cording to one of the edges (wideth). Next I attached the other edge to sandwich the cording between two ends of the fabric. Next, I folded the fabric in half (wrong sides together). Then pressed the edges of the short sides in up to the section where the rod pocket would be formed. Then, I stitched the sides leaving five inches opened. Finally, I sewed two rows of stitches to create the rod pocket making sure the edge were turned in.

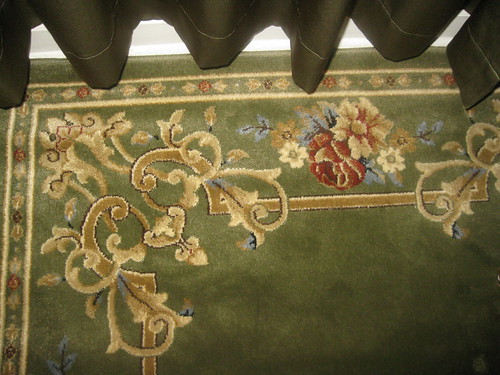
The curtains are a perfect match for my new carpet.


That's it. This project did not take a lot of time. I think I spent more time pressing than sewing.

Thursday, January 20, 2011

The Chicago Fabric Sales Company


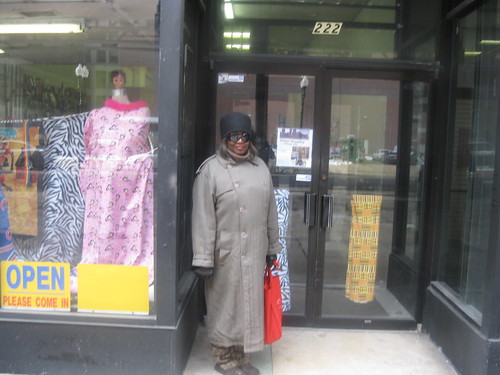
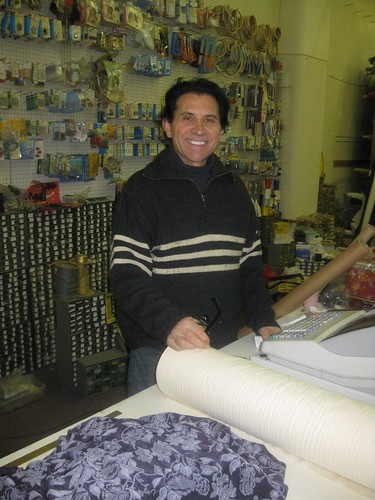
Sandra standing at the entrance of the store.


The Chicago Fabric Sales Co.
222 South Wabash Avenue
Chicago, Il 60604
312-322-9094


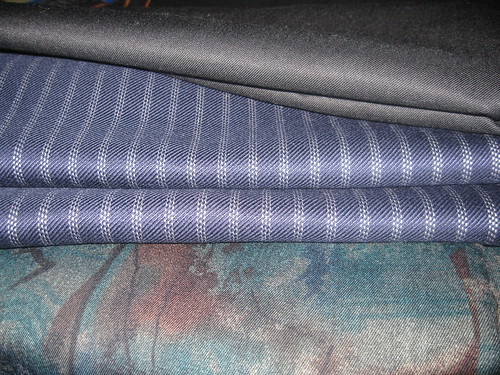
Last Saturday Sandra Young (Coordinator of the Haute Couture Fashion Show) and I spent the day shopping. Our first stop was at Buddy's shop, The Chicago Fabric Store. Sandra frequently shops at Buddy's and has bought many unique fabrics to create her one of the kind outfits. So she offered to take me to Buddy's fabric shop. I found at least ten fabrics I wanted to buy that day, but settled for three pieces: two woolens and one assorted fibers. All will be made up real soon. Lol

Sandra bought a piece of the floral knit on the corner.


Upon meeting Buddy, his face was familiar. During our chat Buddy revealed that his family has been in the fabric business since the 1920's and that his shop has been in several locations in the Chicago Downtown area. One of their locations was on Adams. I remembered shopping there in the early 80's. It was great chatting with Buddy. Sandra has been a faithful customer for many, many years and was familiar with all the locations of the shop.


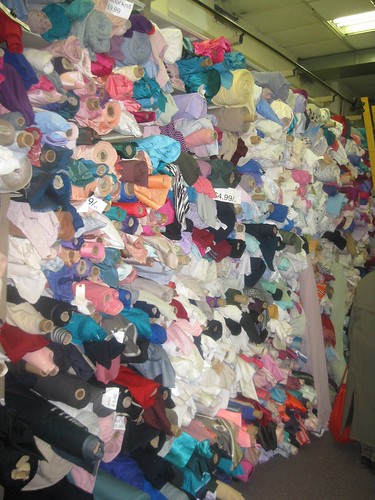
The shop is loaded with all types of fabric: woolen, silks, polyesters, coating. You name it. The woolens that I purchased were very reasonable. Normally, you might pay $20.00 per yard, but Buddy's wools were priced at $10.00 and $6.99 per yard. Good deals. The print that I purchased is assorted fibers, I think, was priced at $4.99.


I had a great time shopping at Buddy's with Sandra. She has a little list of shops in the Chicagoland area of interest. They may not be as popular as Fishman's and Vogue's. But they are sure satisfy to a craving for beautiful fabrics and other sewing goods.

BTW- The Patternreview Weekend in Chicago is scheduled for May 13th through 15th. I'm looking forward to meeting all the fabulous sewists. Tina Wong is the host of the event. On Facebook people are invited to make suggestions on things to do in Chicago. I'm sure fabric shopping is very high on the list. So I plan to post information of a few stores the group may want to visit.


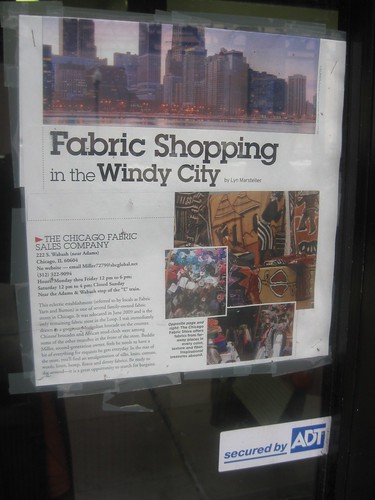
Parting Shot: This write up is posted on the front store of the shop.

Tuesday, January 11, 2011

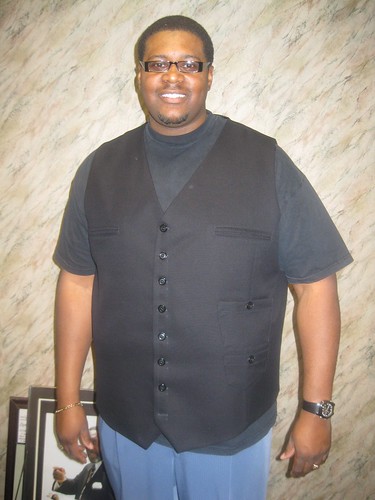
Vest 1 for Mike D - Simplicity 2870


Like I said, I finished the first vest for Mike D on Saturday night. The final fitting went well on Sunday afternoon. Mike D is a happy camper. I'm glad.

Review - Vest 1

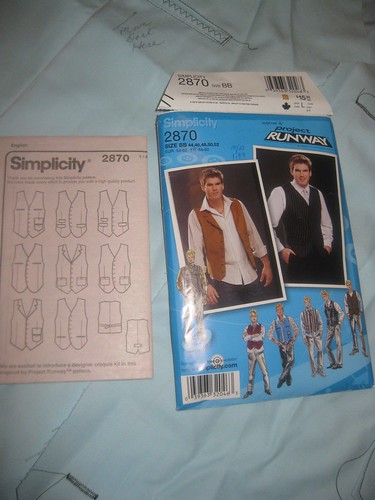
Pattern Description: Men's lined vest with pocket variations.

Pattern Sizing: 34 to 52. I had to scale the pattern up to size 58.

Did it look like the photo/drawing on the pattern envelope once you were done sewing with it? Yes, I had to make a few adjustments based on sizing.

Were the instructions easy to follow? The instructions were easy. I didn't like the instructions for the welt pockets. I followed Debbie Cook's method. Everything else was pretty easy to follow.

What did you particularly like or dislike about the pattern? I like this pattern. It was one of five that I showed to Mike as possible choices for a vest. This is the one he selected. No dislikes.


Fabric Used: I purchased a very nice wool gabardine from Vogue Fabrics. polyester lining and interfacing are from my stash.


Pattern alterations or any design changes you made: Several alterations were made. See previous post. No design changes. This Project Runway pattern offers a lot of variations for mixing and matching pockets, tabs and collars.

Pictures are wonderful. After the final fitting, I looked at the front and back photos and noticed that the back can be taken in just a little more. Not a big deal, but it's something that I noticed and will make that suggestions to Mike next time around.

Would you sew it again? Would you recommend it to others? Yes. Mike would like a red vest. And yes I do recommend it to others. Once you have the sizing and fitting down pat, this is a simple pattern to follow with great results.

Conclusion: This is a great pattern to try.

Sunday, January 9, 2011

First Client Project 2011- Simplicity 2870 Vest


Michael Davis has forever asked me about sewing for him. And my 'timid' response has been, "Well I don't really do sewing for men. I do 'lady' stuff. There is a whole other set of measuring/fitting requirements for men that I'm not accustom to." Well, in December, I finally broke down and decided to give sewing for men a try.

Michael asked if I could try sewing a vest. I said, "okay." So I looked through my pattern collections. Can you believe it, I had about four patterns for shirts and vests. Then I made a trip to JoAnn's to pick up the pattern that I selected to make Michael's vest.

For starters, I measured Mike. He's really big guy. He may be 7' tall. Really. I bought the largest size available and still needed to scale it up five sizes, about 58.

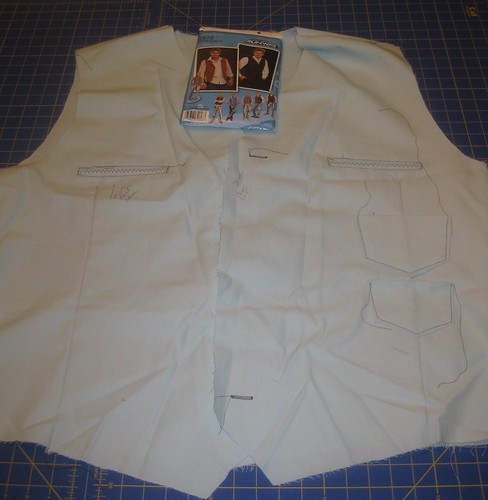
So I made a muslin that included pockets and back tab.


The fitting of the muslin was pretty good. Just a little tweaking needed.

The front darts needed to be moved over about 1 inch.


When I graded the pattern up, I added 3 inches at the waist to add length to it. It wasn't enough. After the fitting 3 more inches were added. Can you believe it?
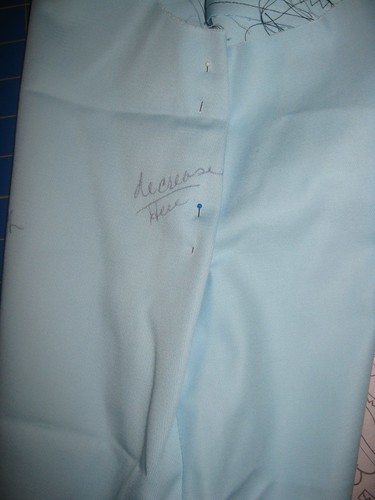
At middle chest, starting at the armhole I decreased the wideth about 1 1/4 inch.


Then at center front I added about 1/2 inch.

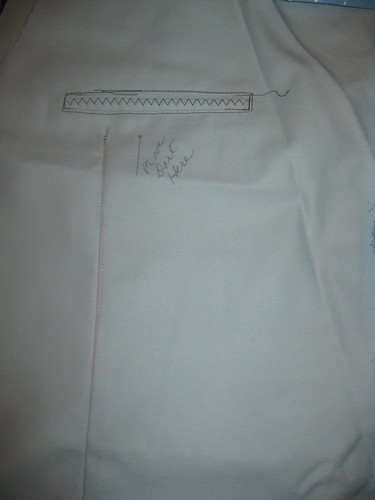
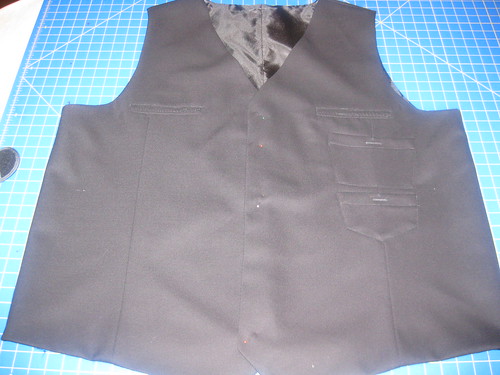
I transferred all these changes to the pattern and came up with this. Still making sure the fitting was okay, I left the side lining complete. (not shown here). Now, I have only a few things to complete: understitching at the armholes and lower edge of the back, sewing buttonholes, buttons, sew side seam of lining and the final press. Done.


Update: I finished the vest Saturday night. Hopefully Mike will allow me to take a few pictures to post. Oops! I noticed that the two patch pockets are too high. The adjustments are in the now finished vest.

That's all for now!

Happy Sewing!
C

Wednesday, January 5, 2011

First Review of 2011 - Simplicity 2452 Jacket


I finished this jacket a few days after Christmas, but didn't want to review it until I posted my year end review for 2010. It part of the Threads Magazine Collection. I made the skirt of this pattern three times already. This first jacket can be worn with either skirt.

Here is my review:

Simplicity 2452

Pattern Description:

Misses' Jacket with Front Variations and Skirt.

Pattern Sizing:

6 - 22, I used 14 with modifications

Did it look like the photo/drawing on the pattern envelope once you were done sewing with it?

Yes, I lengthen the sleeves.

Were the instructions easy to follow?

No problems. A breeze.

What did you particularly like or dislike about the pattern?

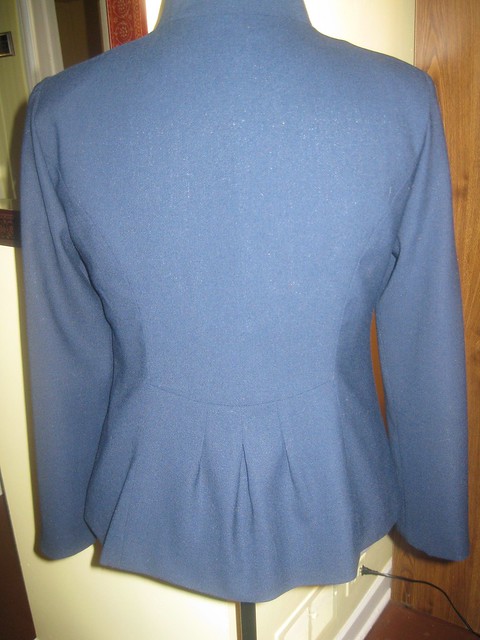
There were two things, in particular, that I liked about this pattern: the pleating at the back waist and the pleating at the front of jacket view C. I thought both design elements were nice and I didn't own any pattern that made this design. No dislikes.

Fabric Used:

Wool blend from Fishman's Fabrics. I purchased it over 15 years ago.

Pattern alterations or any design changes you made:

A little bit of both.

FBA, prominent shoulder blades

Design - Lengthen the sleeves and Added lining.


The process for adding the lining to this jacket was very simple. I used the front, back and sleeves patterns to cut the lining. On the center back lining I added about two inches on the fold on that pattern piece to make the back pleat. After attaching the front band, I attached the lining finishing it as you would any other lining.

Would you sew it again? Would you recommend it to others?

Yes, I plan to sew view C of the jacket. And yes, I recommend this one to others. This would be a good wardrobe pattern for beginners to test their sewing skills for making a princess seam jacket. Also, this is a great wardrobe builder. The skirt is simple and versatile; it can be worn with a variety of tops and jackets.

Conclusion: This is a nice little pattern that is great for beginners who want to test their sewing skills for jacket making.

Tuesday, January 4, 2011

2010 - In Review


Happy New Year!

I pray that everyone is well and making grand plans for the year 2011. It's that time again. My, how time flies. It seems only yesterday I wrote my 2009 review. Well the important thing is, we are still here and able to do our favorite hobby, sewing/designing our clothes. What a gift.

I don't want to even talk about all the goals that I didn't accomplish. Instead I will focus on my achievements. Last year, productivity increased. For me I sewed:

Dresses 15
Tops 9
Jackets 4
Pants 8
Skirts 3
Vest 1
Total garments 40

My Favorite Things -


For DD:

Dresses 3
Tops 2
Jackets 2
Vest 1
Skirts 3
Pants 2
Total garments 13

Favorite Things for DD-


For Family and Clients

Dresses 2
Tops 5
Jacket/Coats 5
Skirts 5
Pants 1
Robe 1
Total garment 19

Favorite Garments for Sisters -


Favorite Client Garments -


I made a grand total of 72 garments and two home dec projects, not to mention several mending/alterations during 2010. I was surprised! High on the quantity side I must admit. Overall I think a did well on the quality of my work. As I looked through all of the project sets on my flash drive , I saw improvements in the finish and fit of my garments. Last year I focused on achieving a more polished look. Every jacket/coat was lined, some with piping added to the front facing. And nearly every woven dress was lined. This year I felt much better about the results of my client projects.

It's was a very good year of sewing. Soon I'll post a review of the last garment finished 2010 and the first finished 2011.

Happy Sewing!
C

LinkWithin

Blog Widget by LinkWithin