Friday, August 19, 2011

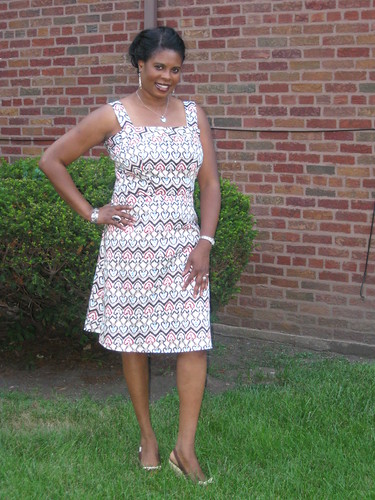
Sun Dress - Butterick 5351


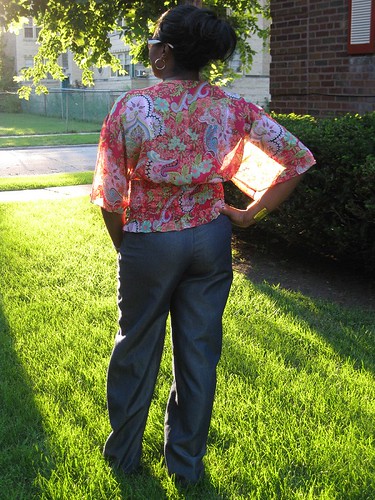
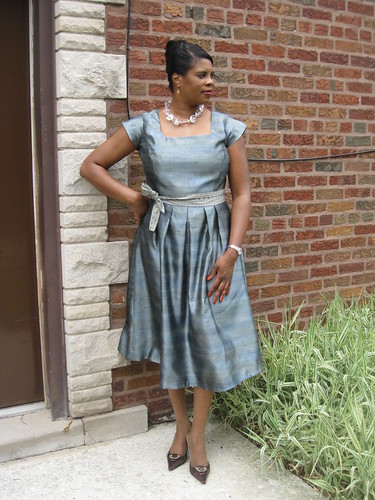
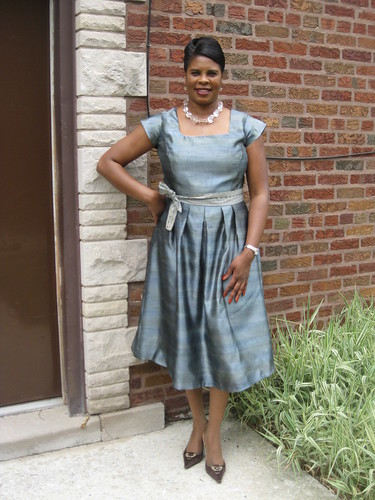
I wanted a simple sundress for vacation and this one fit the bill. Quite a few ladies had good results using this pattern and my experience was no different.

B5351

Pattern Description: MISSES' DRESS: Above mid-knee dresses A, B, C, D have fitted or loose-fitting bodice, A-line skirt and back zipper. A, B, C: shoulder straps. A, B: front and back band. B: pockets. C, D: elastic casing above bust. D: ruffle. Purchased belts.

Pattern Sizing: 8 -24. I like that it has a wider range of sizes. More ladies will have an opportunity to try this pattern. I used size 14 with modifications.

Did it look like the photo/drawing on the pattern envelope once you were done sewing with it? Yes.

Were the instructions easy to follow? I didn't really read them. I've made similar type dresses. It was easy to put together.

What did you particularly like or dislike about the pattern? I like the simplicity of the style. It's comfortable and perfect for hot weather. No dislikes.

Fabric Used: I used a stretch woven cotton from JoAnn's.

Pattern alterations or any design changes you made: I did a FBA. Oops no pictures. I just slashed through the center of the front bodice dart, pivoted to the right cutting most to the upper edge of the bodice. Then spread the opening to the desired width. I also added about a 1/2 to the side seam just in case. For the skirt, I added a few inches to the length.

Would you sew it again? Would you recommend it to others? Maybe and I do recommend it to others. It's a nice little sundress.

Conclusion: This is a fairly easy pattern to sew. A beginner should be able to sew it with no problems.

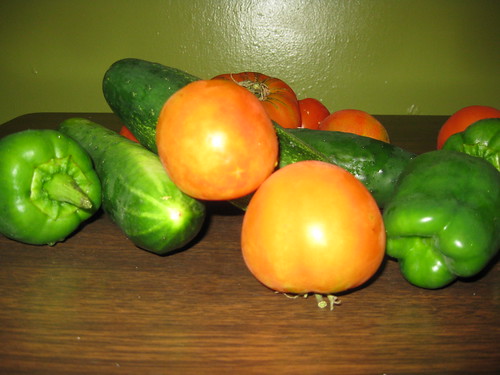
Parting shots: These delicious vegetables came from my mom's garden. Home grown veggies are the best.
The day I received these goodies, I rushed home to fry some green (ish) tomatoes.
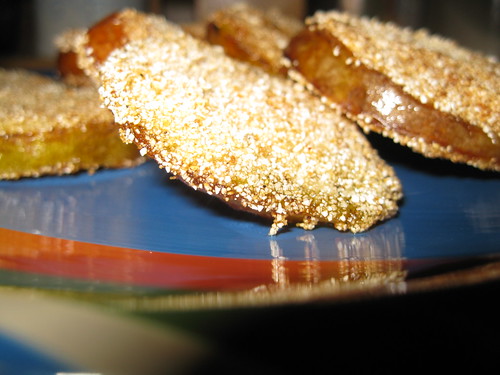
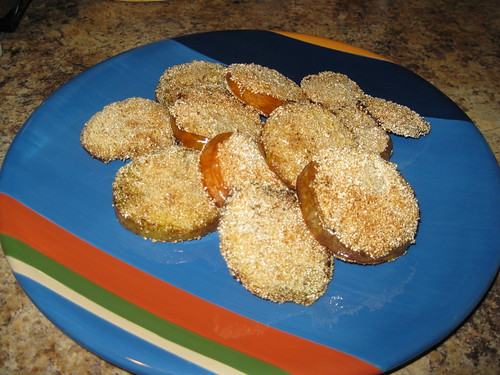

Here's how - I start with green tomatoes that are starting to turn red, a little pinkish. They are a little juicer at that stage of ripeness. In a skillet (I use a cast iron one) pour about a cup of vegetable oil in it over a mid-high flame. Slice the tomatoes about 1/4 inch thick. sprinkle salt and pepper to your taste. Then coat each slice with cornmeal. When the oil is hot, gently place the slices in the skillet. Brown on each side to your taste. Remove from skillet. Let sit for 5 minutes. Then eat. Delicious.

Happy Sewing!  and cooking too.  Wink, wink.
C


Wednesday, August 17, 2011

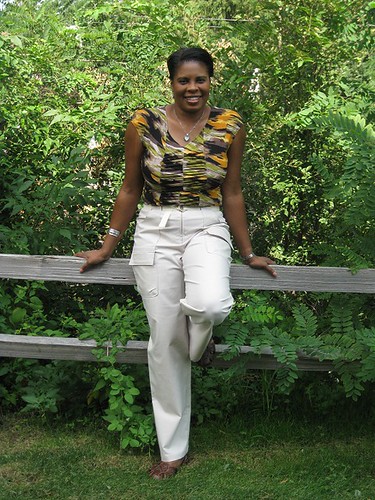
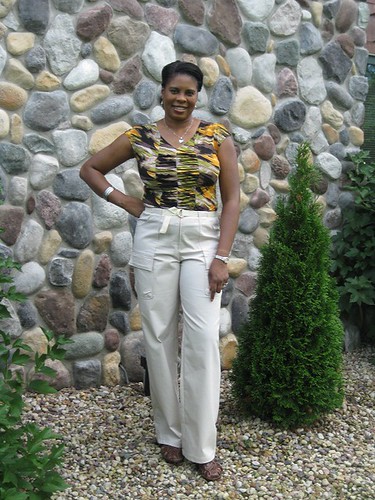
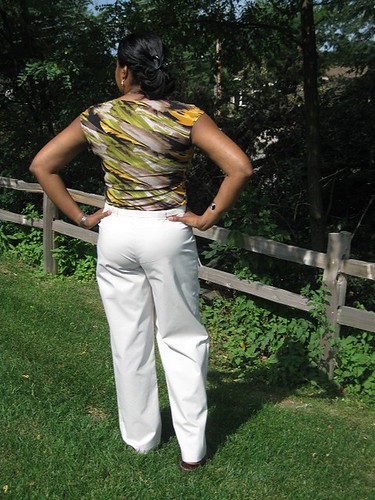
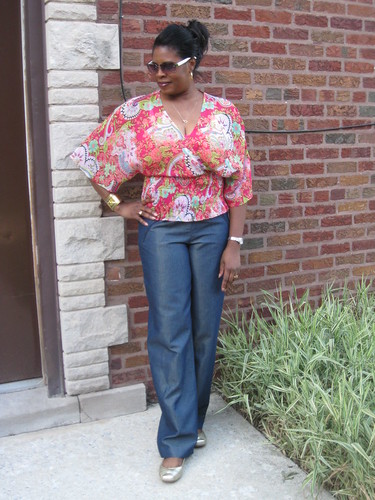
Exploring the Cargo of Simplicity 5102


For what it's worth, I've gotten plenty of use out of Simplicity 5102(OOP). I started my projects mid-July and finished the skirt on Saturday after returning from Wisconsin Dells.

I made variations of three of the six views on the pattern envelope. I personally believe you should use the pattern based on your own personal taste mixing and matching different suggested elements plus adding a few of your own.

I decided to make these garments because I am in much need of some "fun" casual wear. The blue pants were almost finished when I decided I needed the beige cargo pants for vacation. Lucky me, both pair were complete before vacation. I envision myself wearing the shinny blue pair for a Saturday night out; or perhaps, weekday dinner engagement. Whatever the event, I'm sure to get wear out of all three garments.


Pattern Description: The descriptions of the Simplicity patterns are so vague. This one simply says, "Misses' pants in two lengths and mini skirt." I'll include: pants with zipper, pocket and draw string variations. skirts feature cargo and side front patch like pockets.

Pattern Sizing: 4 to 18.

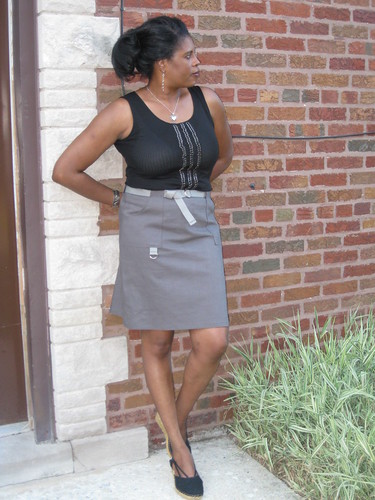
Did it look like the photo/drawing on the pattern envelope once you were done sewing with it? Basically, yes. I thought the width of the pant leg for view A were wider than the ones pictured on the envelope, but for the most part the basic look was the same. I excluded four of the zippers from view A, and I made functional zipper pockets for the front. For view C, I made the pant long added a belt and eliminated the elastic hem. For view F (skirt), I only added two pockets instead of the four.


Were the instructions easy to follow? Yes. I had no problems with them.

What did you particularly like or dislike about the pattern? I like all the style variations for the pants. My only dislike is back zippers for the pants. I guess that's more of a personal preference.

Fabric Used: View C - Beige stretch woven twill, a gift from one of my sewing buddies. View A - Blue shinny denim look fabric from JoAnn's and View F - Grey linen blend from the Vogue Remnant's room.
Pattern alterations or any design changes you made: For the pants - I made my usual crotch adjustments and lengthen the pants about 4 inches. For View A - I made functional zipper pockets, eliminate four zippers, and installed an invisible zipper on the left side. For View C - I made a belt for this view and installed a front zipper. Finally for View F - I eliminated two cargo pockets and added a few inches to the length.

Would you sew it again? Would you recommend it to others? Maybe. And yes, I do recommend it to others. I think advanced beginners can sew this pattern with no problems.


Conclusion: I enjoyed making these garments and will get a lot of wear out of them. This pattern is not difficult, but some of the details do take time to sew. It's important to take your time. You don't want your garment to look "homemade".


All photos are on Flickr.

Zipper Pocket

I wanted to write a separate post on how I created zipper pockets. All of the information on "how to" and the photos of the pants are on Flickr. The next post, I will review the pattern and how I used it to create two pair of pants and a skirt.


Some patterns include zippers as a design element on the garment. Sometimes the design element has no other function. It's simply for visual appreciation. The pattern (S5102-View A) that I used had seven zippers: six for "decoration" and the other to get in and out of the pants. I decided to only use three. And all are functional.

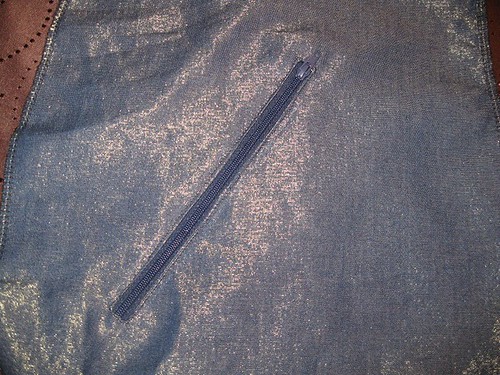
The first step to making the two front, hip zippers functional is as follows:

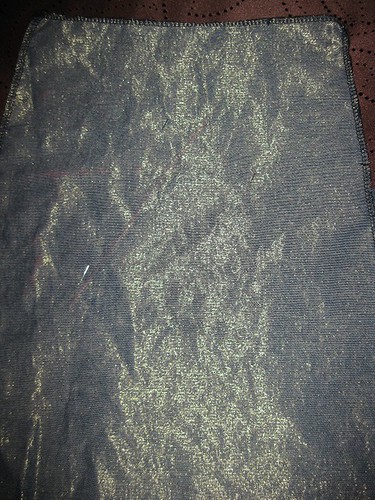
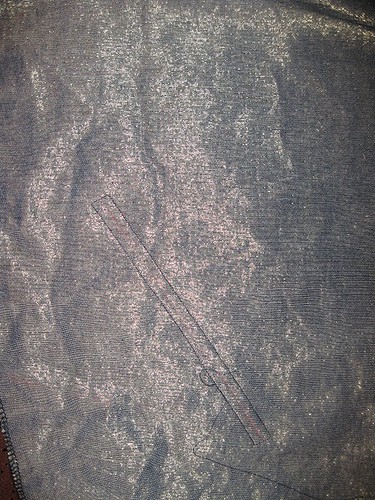
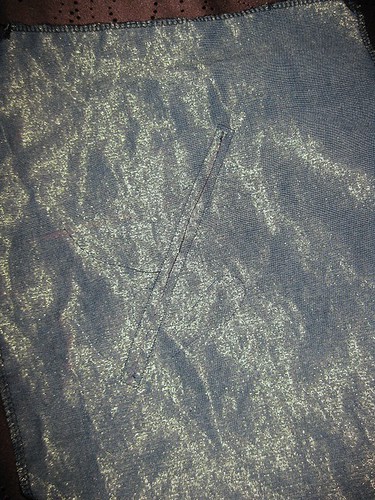
Step 1 - I traced the zipper line on the wrong side of the pants. This is my guide for sewing the rectangle for the zipper. (Sorry it's a little hard to see here, but I hope you get the picture.)


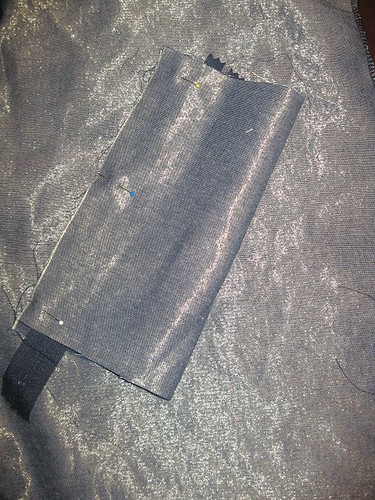
Step 2 - On the right side of the pant, I place the pocket square. (You can determine the size of the square based on the position of the pocket and size of the opening.) This is done before sewing the rectangle for the zipper.


Step 3 - I stitched a rectangle where the zipper would be positioned. (shorten the stitch length 2.0.) Start stitching in the middle of one of the long sides of the rectangle. Make sure you complete the rectangle.


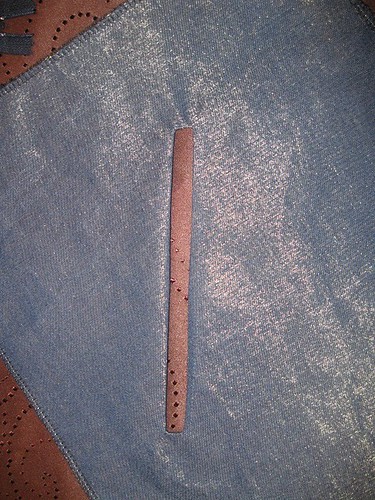
Step 4 - 4. After the rectangle is stitched, cut along the line through the pant and pocket layers stopping about 1/4 inch away from the short sides of the rectangle. At each corner, make diagonal cuts to form a small triangle. Be careful not to cut through the stitching.


Step 5 - Pulled pocket through the opening and form the rectangle with your fingers. Then press.


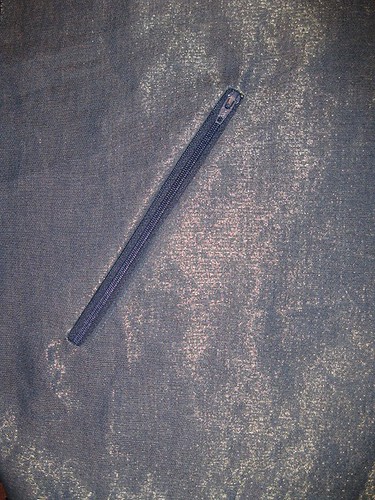
Step 6 - Place zipper under pant.


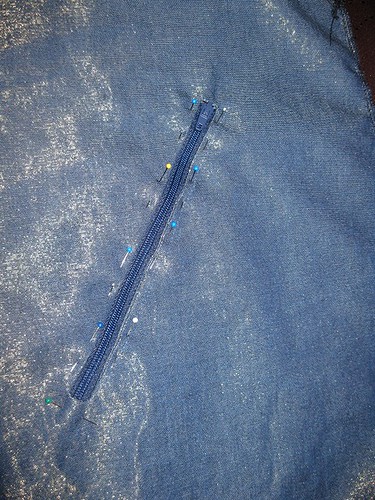
Step 7 - When the zipper is correctly positioned, pin it to the opening.


Step 8 - Sew the zipper in place.


Step 9 - Turn pant to the wrong side. Pin the lower edge to the upper edge making a nice little pouch. Sew the two side and the upper edge of the pocket. If the zipper is extended past the pocket, trim the excess.


Step 10 Serge around the stitch edges. Your done.


Next, my review of pants and skirt made using Simplicity 5102.

Happy Sewing!
C


Tuesday, August 16, 2011

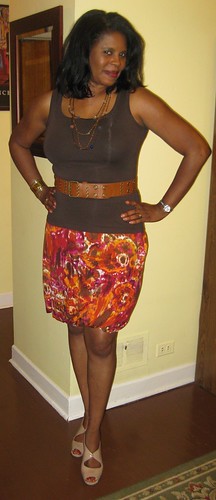
A Little Twist on the Bubble Skirt - Burda 07-2010-108


After seeing Amanda and Sonoemi's versions of this skirt, I put it on my "to make" list. I had some reservations about making it for myself, thinking it was a bit on the youthful side. But, what the hey.

Burda Style 07-2010-108


Pattern Description: Above the knee knit bubble skirt with a twist at the hemline. The skirt has a waistband and side invisible zipper.

Pattern Sizing: Sizing 36 to 44; Burda Style magazine pattern 07-2010-108

Did it look like the photo/drawing on the pattern envelope once you were done sewing with it? Yes, it did. This skirt is featured three times in the 07-2010 Burda magazine. I like all three style options of this skirt.

Were the instructions easy to follow? Typical Burda instructions. The only part I paid any attention to was how to attach the lining to the skirt to make the bubble affect. The rest of the construction was pretty simple.

What did you particularly like or dislike about the pattern?  I really like this skirt. Simple with chic style. It can be for work or weekend social outings. This is a comfortable skirt that will travel well. No dislikes.

Fabric Used: Jersey knit from JoAnn's (Global traveler collection). Knit lining from Hancock's.

Pattern alterations or any design changes you made: I used a size 44 initially but had to trim it down to 42.  As usual, I added a few inches to the length.

Would you sew it again? Would you recommend it to others? I will make another skirt. Probably in a navy jersey for the fall. And yes I would recommend it to others. It's a nice skirt.

Conclusion:  This skirt is trendy, but classic at the same time. At first look, you might think it's more for the twenty or thirty-something age group. But it works equally well for a "mature" woman.  The skirt was pretty easy to make.  The hardest part was putting in the zipper.  If this is a style you'd like to try, making the Burda skirt is worth your while.

I wore this skirt to dinner and a concert.  It can be worn to work with a nice jacket or cardigan.

Tidbits on the bubble skirt -

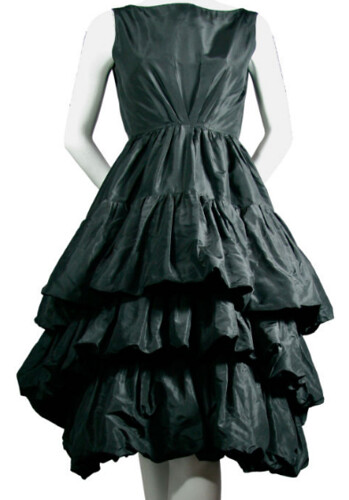
The (balloon) bubble skirt first appear in the Christian Dior 1959 collection. Yves Saint Laurent designed a bubble skirted dress. Since that time the bubble skirt has appeared in stores, on the runway, and in commercial patterns.

Below is the 1959 bubble (balloon) skirted dress.


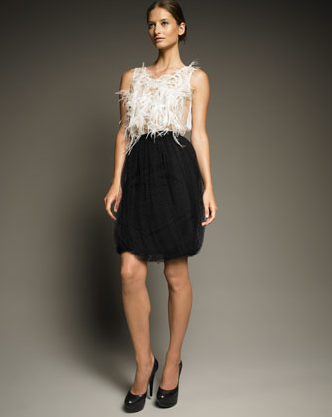
Jason Wu designed this pricey tulle bubble skirt. You can have it for $1,995. But why pay that amount when you can make it for a fraction of the cost, plus you can feel extra special because you made it yourself.


Here are four ladies on the runway modeling bubble dresses. This is an interesting take on the bubble skirt. Evening wear with ballet slippers.


Closing  Comments on the Sade Concert -

She was exceptional! After an hour of the smooth soulful crooning  of the fabulous John Legend, Ms. Sade graced the stage.  She sang all of her hits from the eighty and ninety with cuts from her latest CD sprinkled in.  Every melody possessed the classy, smooth voice that she is known for.  The band was strategically positioned on stage in front of a huge screen where her fans could see an occasional prelude to some of the her songs.  The visuals were just enough, not a detraction from the "real" action on stage. This was my first time attending a Sade concert and hopefully it won't be the last.  Ms. Sade is a classic beauty who gives an excellent performance.  There were no uncomfortable delays.  The audience never lost interest.  Everyone involved was on point.  The production was definitely a smooth operation.  So I leave you with this video.


Monday, August 15, 2011

I'm Still Here

It's been awhile since I last blogged, but I will return this week.   .., lots of things to share.  Quick summary:
  • made skirts, pants, dresses
  • saw SADE in concert
  • vacationed in the Dells
  • work - some changes, but our team is still receiving assignments
Stay tuned.  More to come.

Happy Sewing!
Cennetta

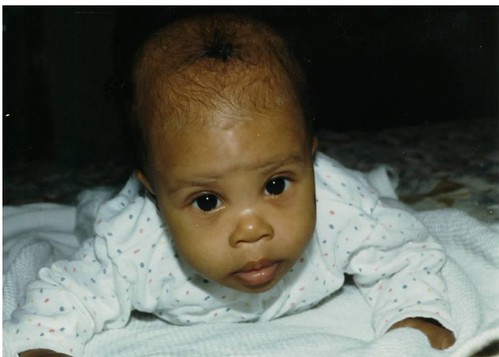
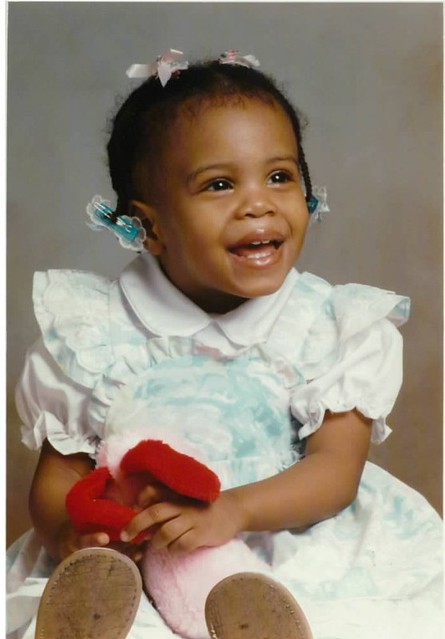
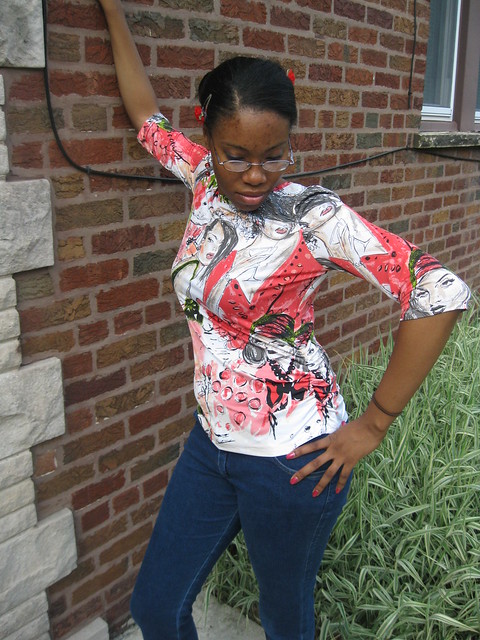
Parting Shots: My DD a few months old and at 18 months. She tuned 24 on August 2nd.


Thursday, July 28, 2011

Knit Tops A Plenty - M6036


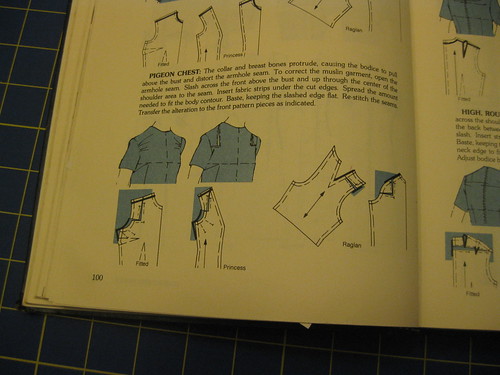
The topic of this post is to review M6036. But the underlining subject is to discuss some of the issues related to fitting my DD’s torso. Over the past few years, I tried to figure out which adjustment would best resolve the pulling cross the upper chest area. I tried making a broad and square shoulder adjustment. But that didn’t completely resolve the issue. This year I made a muslin out of some cheapo knit. While fitting the t-shirt, I realized she also has a pigeon chest. Dah.., This means her collar bone and (rib cage) chest area is more pronounced than the rest of her upper body. I pulled out my “sewing Bible”, Vogue Sewing, to see what it says about diagnosing this type of adjustment. The illustration showed the same type of pulling at the armholes that I’ve seen in RTW and a few garments that I’ve made for her.

So following the instructions in Vogue Sewing, I made the adjustments to the pattern.


The good news is the pigeon chest adjustment is similar to the prominent shoulder blade adjustment. So it’s easy to do. It’s a matter of slicing the pattern in the right place and then spread it for the needed amount of space. The bad news is there is still a problem with fitting the back torso. Because her chest is pronounced, her back is slightly concaved and swayed which creates vertical and horizontal pooling of fabric in various regions of her back. Sometimes, I’m able to fold some of the excess fabric out along the center back and across the lower back (horizontal fold), but there are instances where my method does not completely solve the problem. Suggestions are welcome.

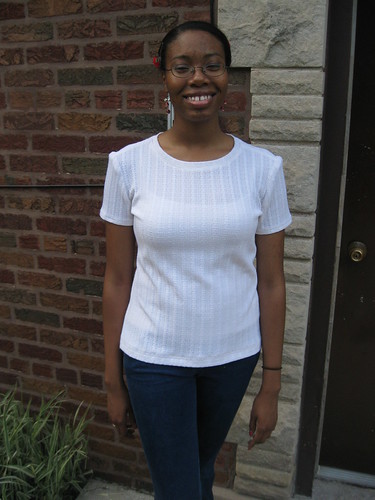
All year long, she has been begging me for t-shirts. Finally, I sat down to revisit the fitting issues. For the most part the issues are resolved. So I made her three t-shirt using M6036. I’m still not satisfied with the fit right at fold between the chest and armhole. It hollow there.


My second issue is upper finishing of the armhole. On some t-shirts it looks bulky across the ball of the shoulder. I think that can be easily fitted by trimming away most of the seam allowance. I need to do a little more tweaking, but that’s it. Knits can be very forgiving. With right amount of stretch in a “good” knit fabric, fitting becomes less complicated. To conclude on the fitting part, I was able to produce a few decent t-shirts for her by making a few adjustment s in the front and a sway back adjustment.

Here is the rest of the review:

Pattern Description: MISSES' TOPS: Close fitting, pullover tops A, B, C, D, E have rounded or scooped neckline; top A has purchased lace appliques; top B has contrast flowers; top C has front ruffles; top D has appliques cut from lace fabric; top E has neckline ruffle.

Pattern Sizing: X-Small to X-Large

Did it look like the photo/drawing on the pattern envelope once you were done sewing with it? The basic t-shirt yes. But as for the embellishment, I didn't do any. I wanted to get the t-shirt fitting down pat.

Were the instructions easy to follow? Yep. I just glance at them.

What did you particularly like or dislike about the pattern? I like the embellishment options. I use them later. No dislikes.

Fabric Used: Sweater knit from Walmart; jersey knit from Vogue(Evanston) and JoAnn's. All of them had a fair amount of stretch and great recovery.

Pattern alterations or any design changes you made: Most of the alterations are discussed above. Other changes:

Added some rushing on the sides of two t's.
Modified the sleeve length.
Added a neckband.

Would you sew it again? Would you recommend it to others? Yes and yes.

All photos are on Flickr.

Conclusion: I used this pattern to help address some fitting issues for my daughter (sloper).  There is nothing difficult about making the basic t-shirt and the embellishment designs could be used to spruce up your shirts.

Monday, July 25, 2011

Summer Dress Challenge 2011 - Finale PT V New Look 6824


Finally, I finished my Summer Dress Challenge.  I started making this dress early June and six weeks later it's finished.  I've made at least two other dresses, several tops and bottoms in the course of making this dress.  Why did it take so long?  After accepting Faye's invitation to the Summer Dress Challenge, I decided I wanted to do something a little different and "challenging". So I pulled out ole' faithful (NL6824) and some beautiful silk dupioni from Fishman's, and decided to follow Susan Khalji's underlining technique.

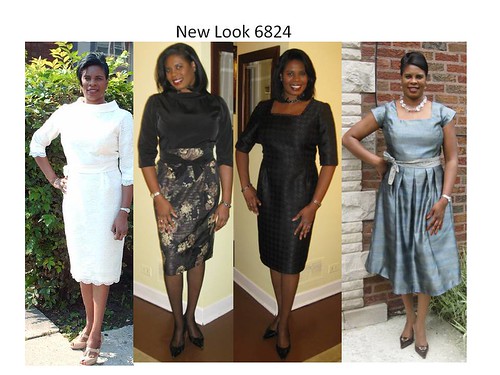
If you follow my blog, you'll know that NL6824 is one of my TNT patterns.  This is the forth time I've used it and it has helped me produce four nice dresses. Can't say which one I like the best, all of them fit well and suit my taste and figure.

Following Susan Khalji's technique was a learning experience and was a bit of a challenge when it came to all the hand stitching and transferring of ALL the markings onto the underlining. It was certainly worth all the effort though.  This approach is not for the faint at heart, it takes a lot of patience and time.  The hours I invested were equalient to the amount of time that I spend making a prom dress, wrap and purse.    And as I hand stitched the underlining to the dress, I decided I wouldn't do this type of work for pay unless someone had a lot of money to spend and to pay me. Lol. It's an undertaking to say the least.

Some might say, now where would you wear this type of dress?  My daughter's friend, Joanna, married on Saturday.   So I thought this would be a good occasion to wear it.  And of course, I'll wear it to the captain's ball while on vacation.
 
Since this is the forth time around, do I really need to give the description and size?  I guess so for new followers.
 

Pattern Description: Misses dress with various neckline, sleeve and skirt options.  You can design your look with mixing and matching pattern pieces.

Pattern Sizing: 8 - 18; I used 14 with modifications.

Did it look like the photo/drawing on the pattern envelope once you were done sewing with it?  Yes. Similar to the coral view on the pattern envelope.

Were the instructions easy to follow? This time around I didn't look at the instructions. I chose this pattern because I was familiar with the instructions and I had already worked out the fitting issue. It was the perfect pattern to use for this projects. My focus was on getting the technique down pat.

What did you particularly like or dislike about the pattern?  I love this pattern.  You have so many options for designing your dress.  I could easily use it four more times and get four more looks that work for me.


Fabric Used: Silk Dupioni (Fishman's); silk organza and china silk (New Rainbow).  Originally I thought I would use silk charmeuse for the lining, but the china silk worked best for the weight of the dupioni.


Pattern alterations or any design changes you made: Oh boy,  many changes and alterations.  Above all else, I did my usual FBA, sway back, prominent should blade, a few inches to the length of the skirt adjustments.  All are illustrated in previous reviews and on Flickr.  The other changes are related to follow Susan Khalji's technique. That information can be found here PT 1, here PT 2,  here PT 3, and here PT IV.

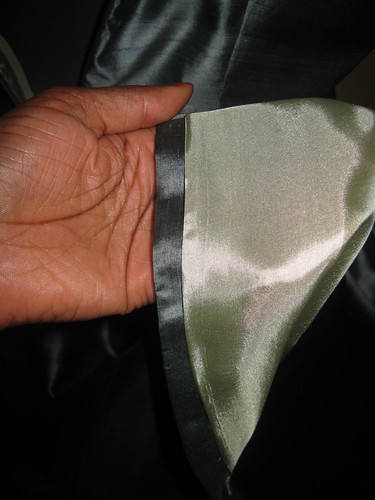
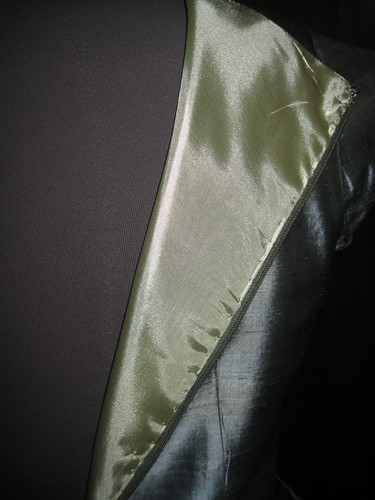
Lining attached to the hem.

Lining skirt and bodice lining sewn to waist. Lining hand stitched to invisible zipper.


Would you sew it again? Would you recommend it to others? Like I said, "This is one of my TNT. I will probably make another version within six months. And Yes, of course, I do recommend it to others.


Conclusion:
Follow Susan Khalji's underlining technique was a great experience. I learned how the color of the underlining affects the color of the fashion fabric; the underlining can also affect the drape of the garment; how to baste the underlining to the garment pieces, and how to ultimately create a better dress. Note on the pattern: this is one of my go to patterns. It has good bones and I've worked out the fitting issues so that make the whole process fifty percent easier. Try both the pattern and the technique. Both are worth your while.

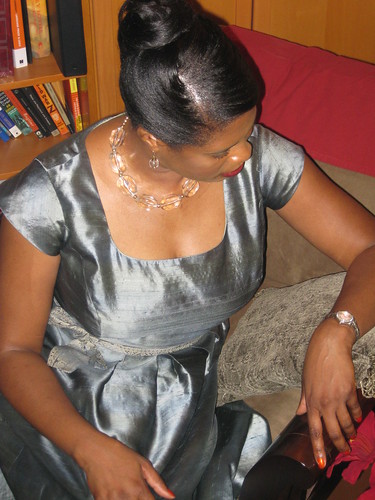
Jewelry; bold and simple.


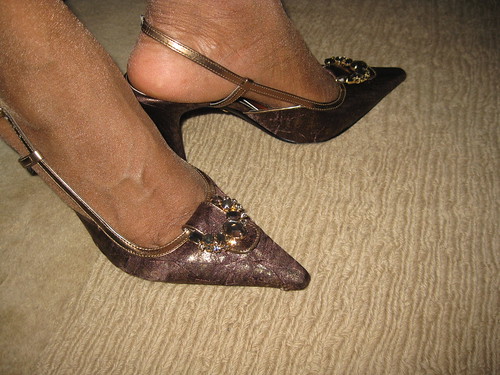
Shoes from shoesonline.com, J. Renee.


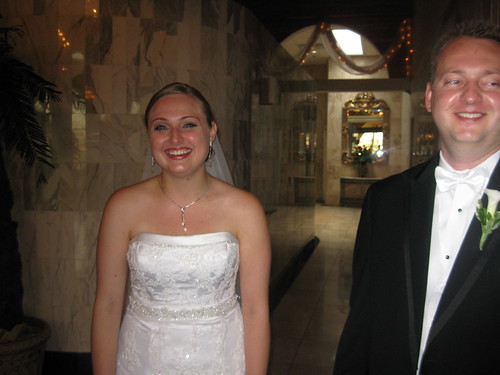
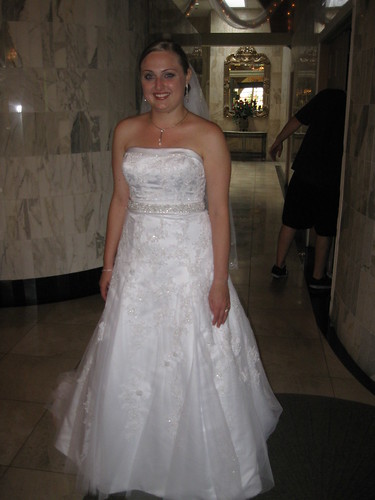
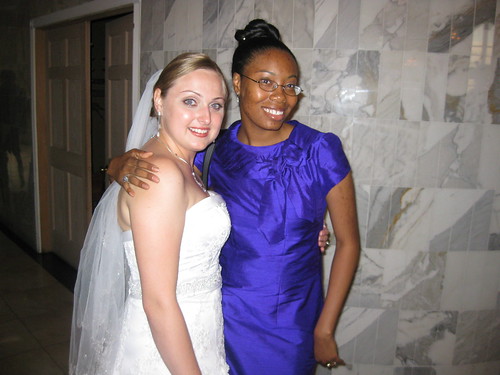
Parting shots: Here are a few photos from the wedding. The bride and groom were graciously beautiful.


Happy Sewing!

LinkWithin

Blog Widget by LinkWithin