Friday, May 18, 2012

Vogue 8190, The Second Fitting - Part III


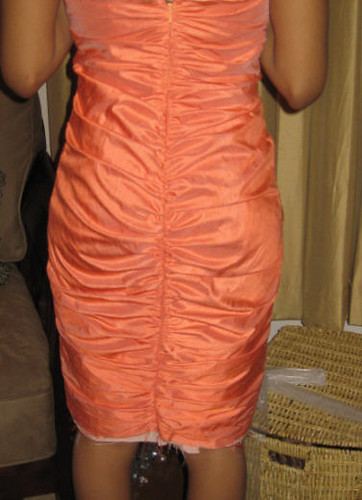
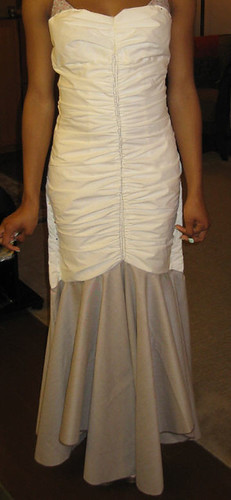
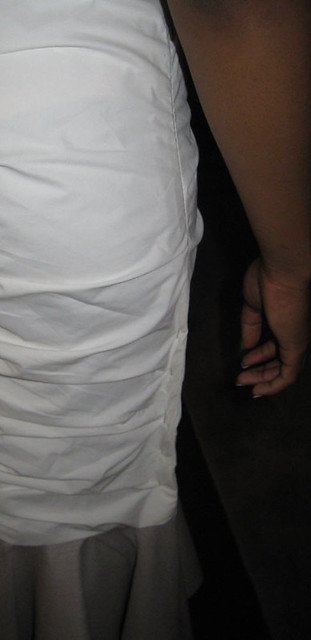
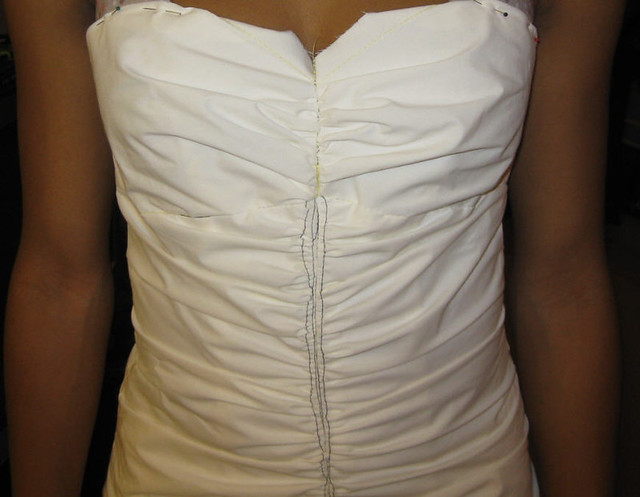
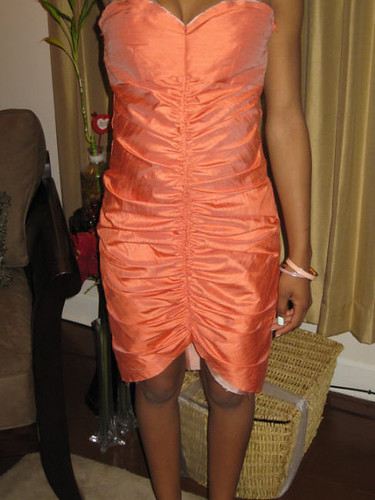
Yesterday was the second fitting of Traci's prom dress.  Boy, I tell you the ruching takes about two hours to complete.  And I've done it twice for this dress.  The good thing about it is, the effort is well worth it.  The dress is coming along nicely and I hope to have it finished by Monday.  I hope.., Lol


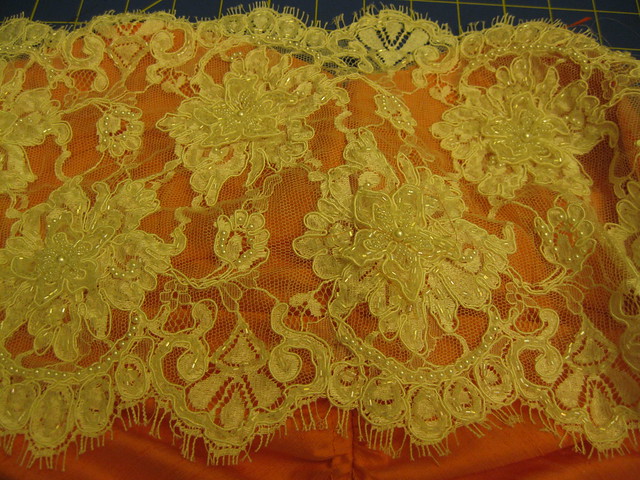
This lace will go across the bodice of the dress.  Sorry the photo is dark.  This lace is gorgeous.


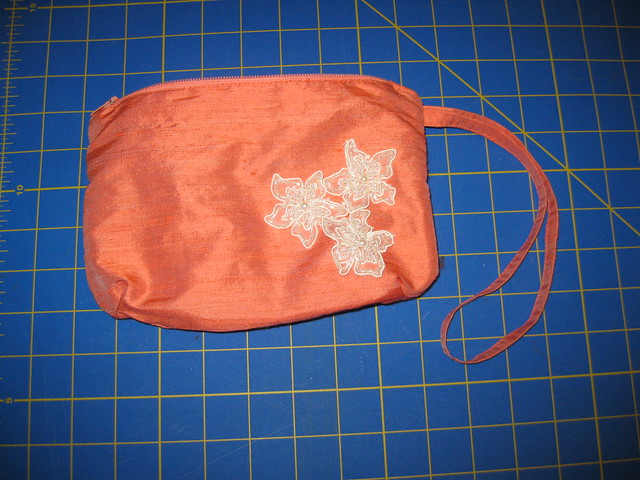
The purse and the garter are done.  I used the McCall 4679-D (purse) again; just graded it up and added some embellishment.  The garter, I designed.  Pretty easy.

Stay Tuned; there is more to come.

C

Wednesday, May 16, 2012

Vogue 8190 Transferring Adjustments to the Pattern, Part II

This is the second installment of the Vogue 8190 prom dress for my cousin. The adjustments were pretty easy, and I was able to transfer them to the pattern pieces with no problems. Below are the steps taken to make cutting and sewing easy.


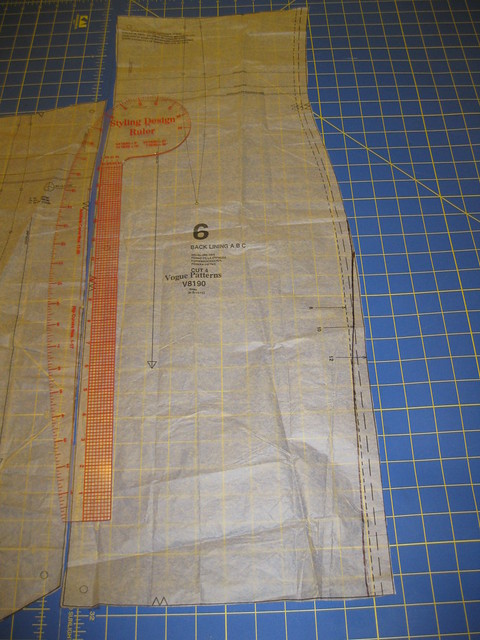
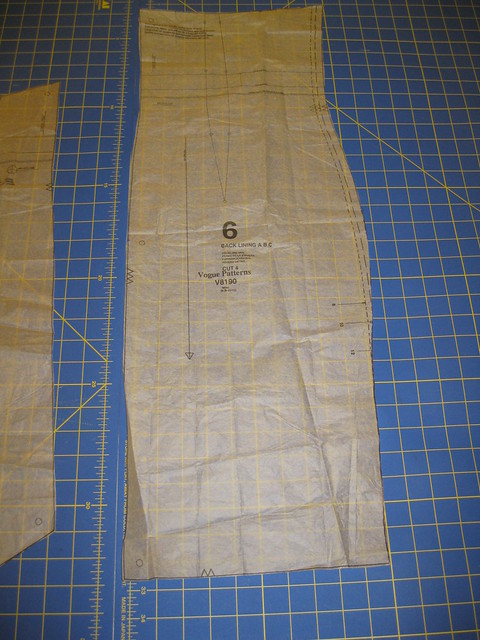
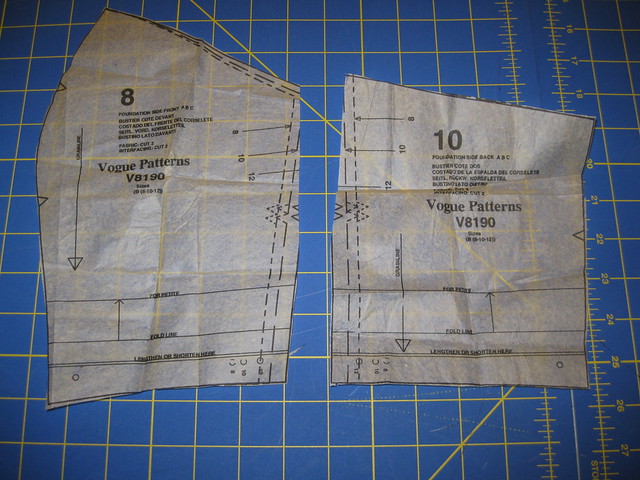
First, I drew the new line starting below the hip area to the bottom of the upper skirt.  Here you see the full back lining.

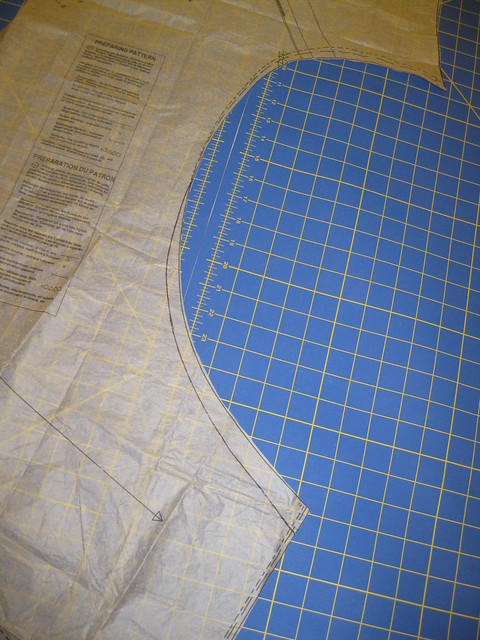
Next, I trimmed away the excess tissue.  This process was done for the front as well.                        

                                 
The same adjustment is needed for the front and back of the dress.  Both pieces have this flounce like shape.  After it has been ruched, it will resemble a typical front and back close fitting dress.


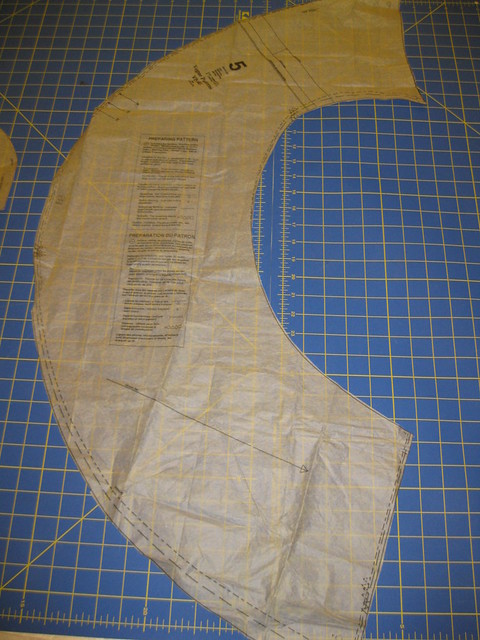
Here is the pattern with the excess trimmed away.                       


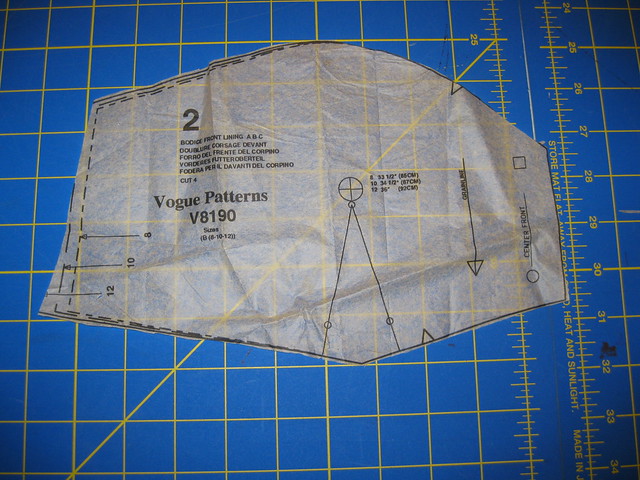
Instead of using the bodice front (center ruching) for C, I decided to use the bodice front lining for my version of View C.  The top of the dress will have a lace overlay.  I want it to be as smooth as possible.   At the top of this piece I graded the pattern down to size 8 then gradually out to size 12.  All other pieces where adjusted the same.                        


The adjustment was also made to the foundation front and back sides.     


That's it for the pattern adjustments. Next, I'll sew the dress together.

Stay Tuned!
Cennetta

Monday, May 14, 2012

Fitting Vogue 8190 and McCall 4321

It's such a blessing to have clients with minor fitting issues.  I'm in the process of making the second prom dress.  This one is for my cousin (second) Traci.  The only fit issues are:  slightly too big in the bust area.  All is needed is a reduction is the width of the bodice.  And slightly to big below the hip area.  Simple.  (Yes the skirt is uneven due to lack of width of the muslin fabric.)


I'm using Vogue 8190, View C, for this dress.  The design changes are minor too.  Traci does not want the tulle exposed at the bottom so the overlay will be the same length.  A beautiful embroidered, beaded lace will adorn the top of the dress.  She wanted the bottom detachable; but I said nothing doing.  That takes too much time.  


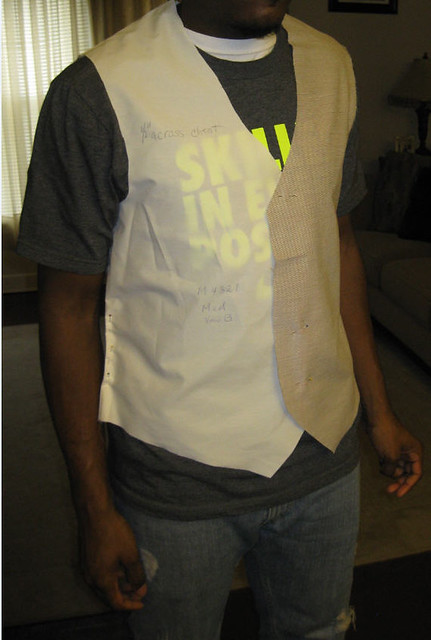
Traci's date will wear a matching vest and bow tie.  I'm using McCall's 4321.  His muslin fitting was just as painless with adjustments along the upper back and the side seams.  I'm thankful.


Next week, I will reveal the finished gown and vest.  Meanwhile, the reveal of my niece's prom dress is scheduled for this Friday night. 

Stay tuned and Happy Sewing!
Cennetta

Wednesday, May 9, 2012

Christine Jonson - Travel Trio 1204


This is the very first time I've tried a Christine Jonson pattern. I picked up a few at the PR pattern swap last year, but hadn't thought about trying them until the Haute Couture Club challenge. I think I'm so use to the big 4 pattern companies; it's hard to break out of the routine.  

Back in October 2011, the Christine Jonson Travel Trio challenge was announced. We could mix and match the pieces from the three travel trio patterns (1204, 226 and 331). I chose to make all three pieces from 1204.   The deadline for the challenge was the April HCC meeting.  This was the same meeting to Christine was the program guest speaker. In her talk she gave some helpful tips on how to sew knits. She also gave us her back story along with information about her company.

It wasn't until after the meeting that I decided to go ahead with completing a travel outfit in time for the fashion show.  CJ1204 sews up very quickly which is a plus. I decided to test this pattern without making all of my standard adjustments.  Time was short, the outfit was semi-fitted, and using knit fabrics gave me an extra level of forgiveness in the fitting area. Granted I had to do a little tweaking as I sewed, my first outfit turned out pretty good.  Next time, I'll make a few more adjustments before cutting the fabric.

That being said let me start the formal review.  

Christine Jonson Travel Trio 1204

Pattern Description: 
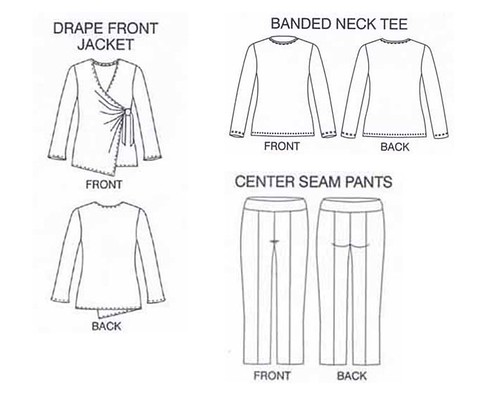
Banded Neck Tee - Long sleeved, semi-fitted tee with self-banded neckline.
Center Seam Pants - Semi-fitted, front and back seamed pants with waistline yoke.
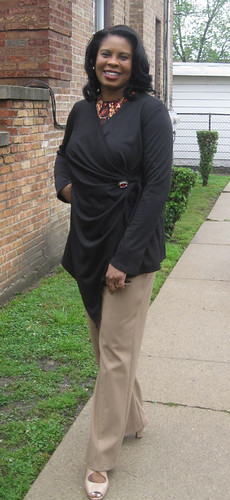
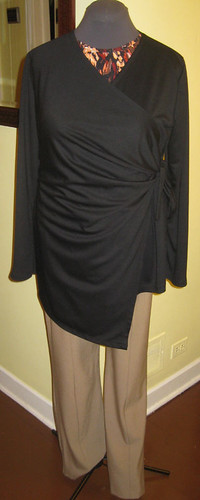
Drape Front Jacket - Asymmetrical, semi-fitted jacket with slight bell sleeves.  Jacket ties at the left side, forming soft folds.

In each pattern a helpful perfect sizing worksheet is included with the contraction guide sheet. (I didn't look at it until I noticed the tee was too large.)

Pattern Sizing:  Sizing for the Tee and jacket are XS to XL.  The pants are sizes 4 - 22.  For the tee and jacket I cut slightly larger than M from the bust down to the hem; pants 14.


Did it look like the photo/drawing on the pattern envelope once you were done sewing with it?  Yes, the finished garments look like the "technical drawing" on the back of the envelope.  I wanted the jacket and pants to look more like the drawing on the front.
Were the instructions easy to follow? Very easy to follow.  No problems.

What did you particularly like or dislike about the pattern?

Likes -
The drape of the jacket.
Simplicity of the tee.
The center seams of the pant leg.

Dislikes -
The inside tie of the jacket is too wide.  I prefer a narrower tie. (easy fix)
Loose fit of the tee.  I prefer a little more shaping (easy fix)


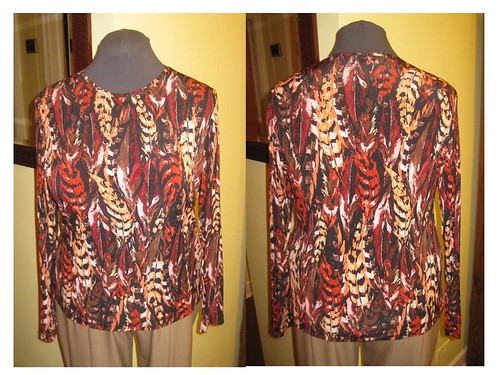
Fabric Used:  Pant weight rpl British tan stretch woven from Gorgeous Fabrics; ITY Feather Print; and Black Ponte knit from JoAnn's.

Pattern alterations or any design changes you made: 
Tee -
It was too large for my arms and from under my bust area through the hip area.  To resolve that issue I sewed larger seam allowances.  For the type of knit (60% crosswise) I could have gone down a half size and made FBA, which I will do the next time.  Also, I think it would fit better if I made a center back seam to address the sway back issue. Added some length to the sleeves and body of the top.


Jacket -
Here again it was too large from under the bust to the hem.  The description says semi-fitted, but it was closer to loose fitting pass the bust area.  That could be due to my narrow hips.  So I increase the seam allowance from the base of the bust area down.  The rest of the jacket was okay.  Added some length to the sleeves.


Pants -
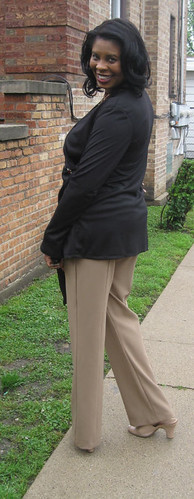
I decided to use a stretch woven for the pants.  I wanted them to look more like slacks.  So instead of  an elasticized yoke, I adopted the yoke for a waistband, trimming off an inch (width, from the top).  There was quite a bit of ease in the pants.  I trimmed about 3/4" from the side and center (front and back) seams for a close fit. Installed a zipper on the left side.

To stabilize the zipper area, I added interfacing to the seam allowance.  I also interfaced and added twill tape to stay the top of the now "contour waistband". I shorten the crotch and added length to the pant leg.


Would you sew it again? Would you recommend it to others?  Yes and I do recommend it to others.  But before sewing, read all of the construction information and determine how you want to use the pattern before you cut into your fashion fabric.


Conclusion:  The is a great travel trio.  It's easy to make and to wear.  You can easily adopt the pattern to your style preference.
Tuesday, May 8, 2012

Festive Haute Couture Fashion Show Weekend

For the past two years, Patti Ferguson has been a gracious host to some of my favorite sewing, designing Divas. Their visit is one of the highlights of the Haute Couture Fashion show weekend.

On Friday, Ann surprise us with a wonderful reception. She looked fabulous in McCall 6556. I'm getting that pattern at the next sale. Saturday was whatever floats your boat kind of day. Some shopped at Fabric stores, while others shopped on the magnificent mile (downtown Michigan Avenue).

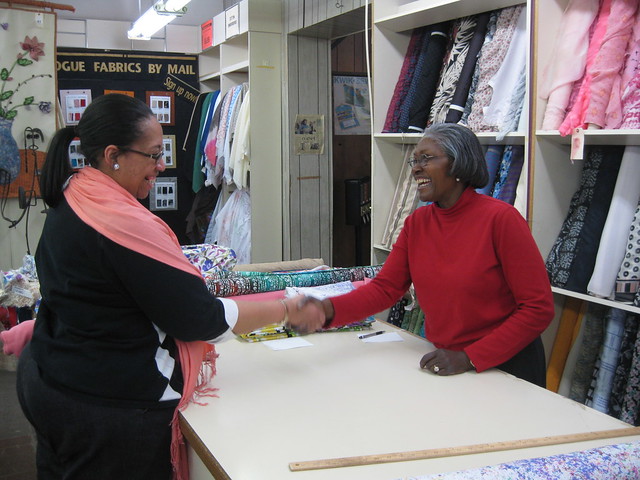
 After lunch Carolyn, Patti, and I drove up to the Vogue in Evanston. I promised myself not to purchase one yard of fabric. But you can guess what happened. When Ms. Carolyn started to shop and comment about the feel and texture of certain fabrics, I couldn't resist. So I walked away with five pieces of fabric. Wink, wink. Patti was good. She walked to a nearby bead shop, returning just as we were having our fabric cut.


Carolyn recognized Pearl from the Worcester Expo, where she works the Vogue Fabric booth. So they formally meet at the flagship store.


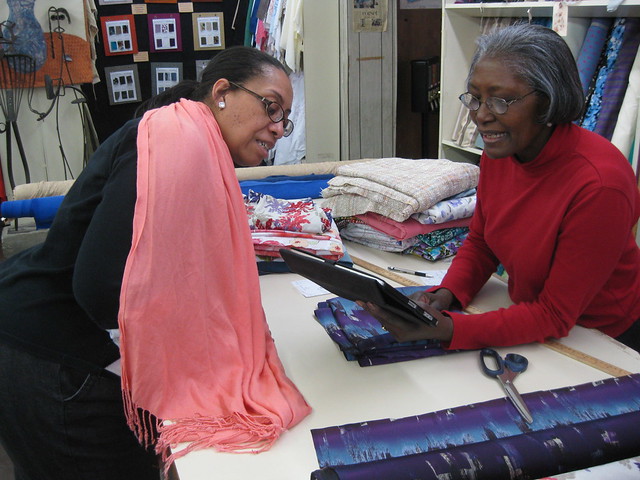
It was great talking about fabric and sewing with her. Carolyn showed Pearl some of her beautiful garments (iPad, Flickr). After we made the purchases, we headed back to the Orrington Hilton, where I dropped off Carolyn and Patti. They continued the weekend festivities with dinner and a show. Meanwhile, I headed home to press and pack for the show.

The skinny on the Fashion show; it was great. There was a lot of energy and joyful movement from the crowd and from the fashion show models. The phenomenal Rhonda Buss was an outstanding Fashion Show Chair. I learned a lot from her. It was fun and our guests were pleased with the event. Of course, I don't have any pictures to show right now. That's another post. Most of my garments were previously reviewed.

Happy Sewing!
C

Wednesday, May 2, 2012

Feather Fascinator 100 - Part II


Yes,  I have another easy "Do It Yourself" fascinator.  This time it's with feathers and jewelry findings.  Just as easy as the floral fascinator.

Here's how:

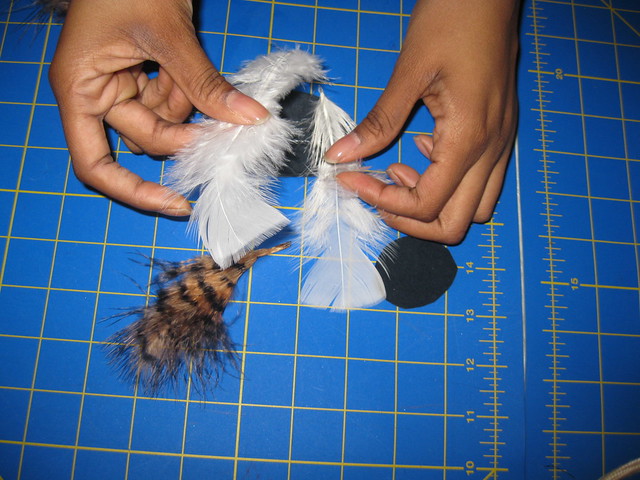
Supplies -

Feathers
2 leather bases (recycled leather from old jacket.)

Not shown -
Hair clip
Tacky glue from JoAnn's
jewelry findings
Clothes pins


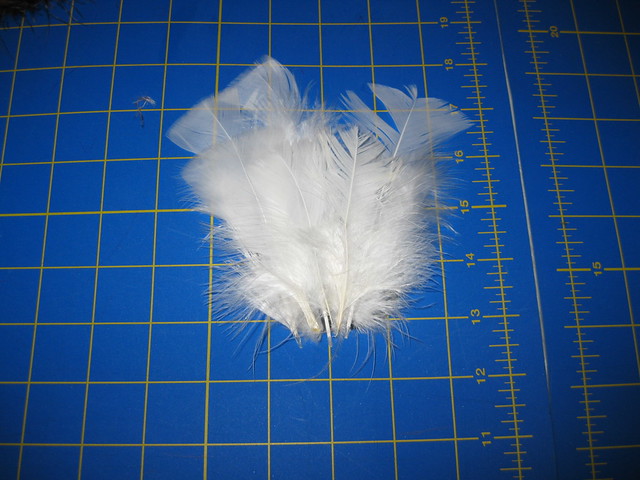
Step 1 -

Test Arrangement of feathers.


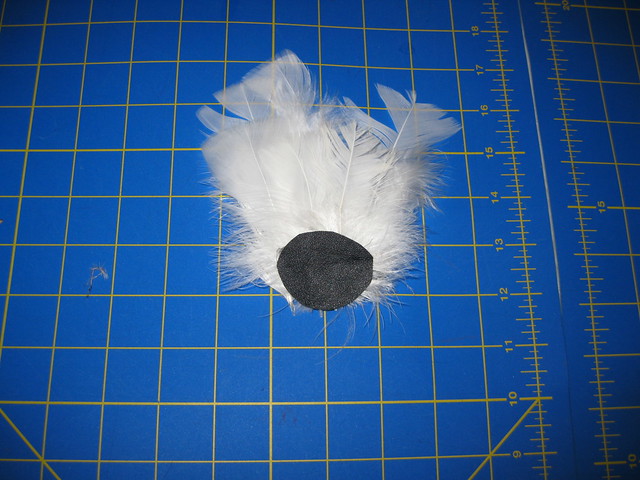
Step 2 -

Glue the feathers to the base.

Step 2b-

Back view.

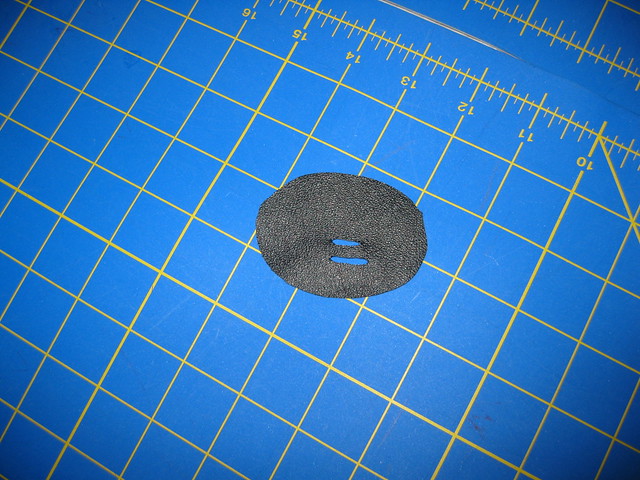
Step 3 -

Clip two slits in the second leather piece.
Step 4 -

Slide clip through slits. 


Step 5 -

Apply glue.


Step 6 -

Affix to base of fascinator.

Step 7 -

Clip clothes pins around the edge to hold the leather pieces together while the glue dries.  Let cure for at least two hours.

Step 8 -

Wear it.

Tuesday, May 1, 2012

Floral Fascinator 100

Why pay $20, $30, or $50  for a simple fascinator?

Here is the easiest fascinator tutorial.  You can assemble a simple fascinator in minutes.  Here is how.

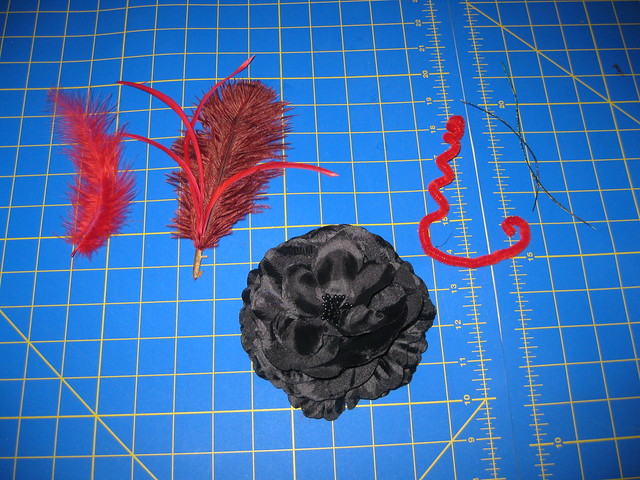
Step 1 - Gather your materials and tools.

Supplies -

Feathers
Flower (pin back closure and hair clip already attached to store bought flower.)
Pipe cleaners

Not pictured -
Hot glue gun


Step 2 -
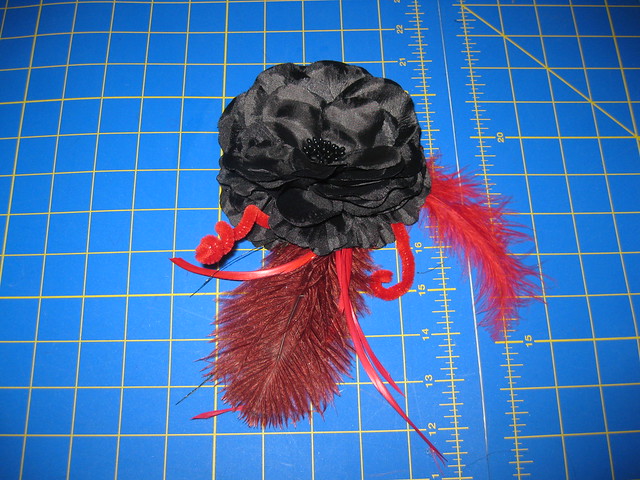
Determine how you want the feathers and pipe cleaners arranged.


Step 3 -
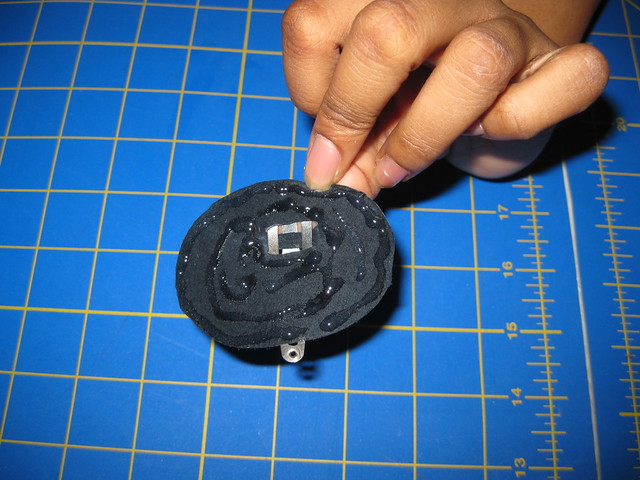
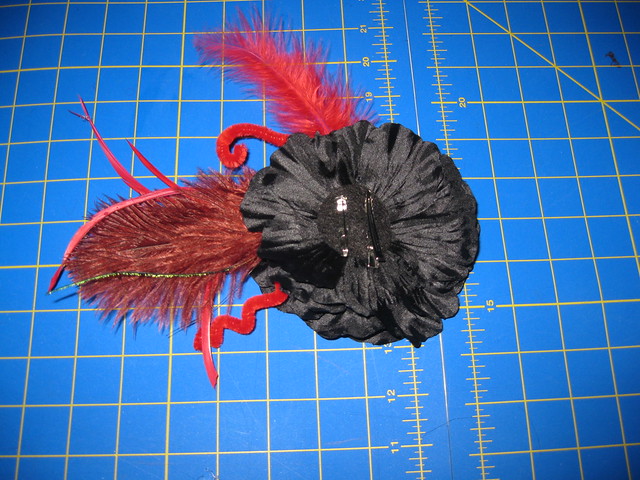
Glue each piece between the flower pedals.

Step 4 -

Let dry.


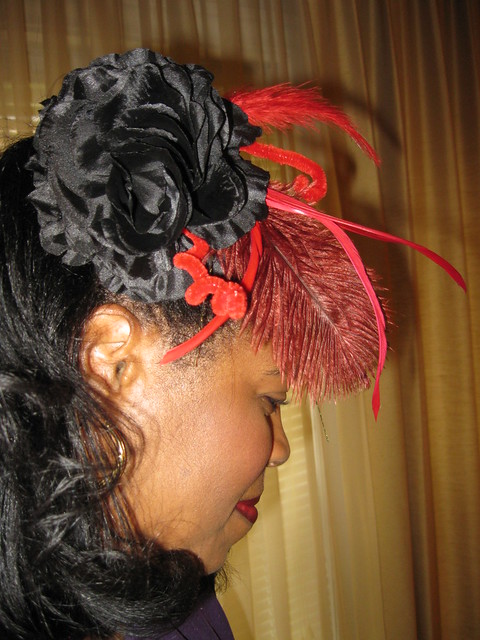
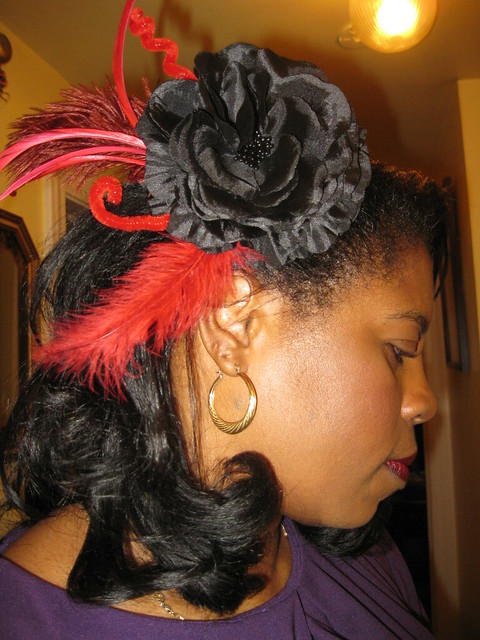
Now wear it with the feather across your face or..,
towards the back of your head.

That's it!


LinkWithin

Blog Widget by LinkWithin