
Today's tutorial will illustrate how to actually make the one piece collar. I used McCall 7575 collar, which was originally designed to cut two collar pieces (upper and lower) to form the shirt collar. I folded the original collar in half, copied the half minus the 5/8" seam allowance at the edge. Read the previous post to draft the pattern.
Making the collar
Step 1 - Place the tissue pattern on the fold to cut one fabric and one interfacing. Below is a picture of all three (fabric and interfacing still folded in half.

Step 2 - Fuse the interfacing to the wrong side of the fabric collar.

Step 3 - With both ends together, sew 5/8" seam allowance. This seam will be at the center back of the collar.

Step 4 - Press the seam allowance open and fold the collar so that the seam is at the center of the collar.

Step 5 - Stitch along the outer edge of the collar (5/8" seam allowance), press and trim the seam allowance (1/4"). Photo before trimming of the seam allowance.

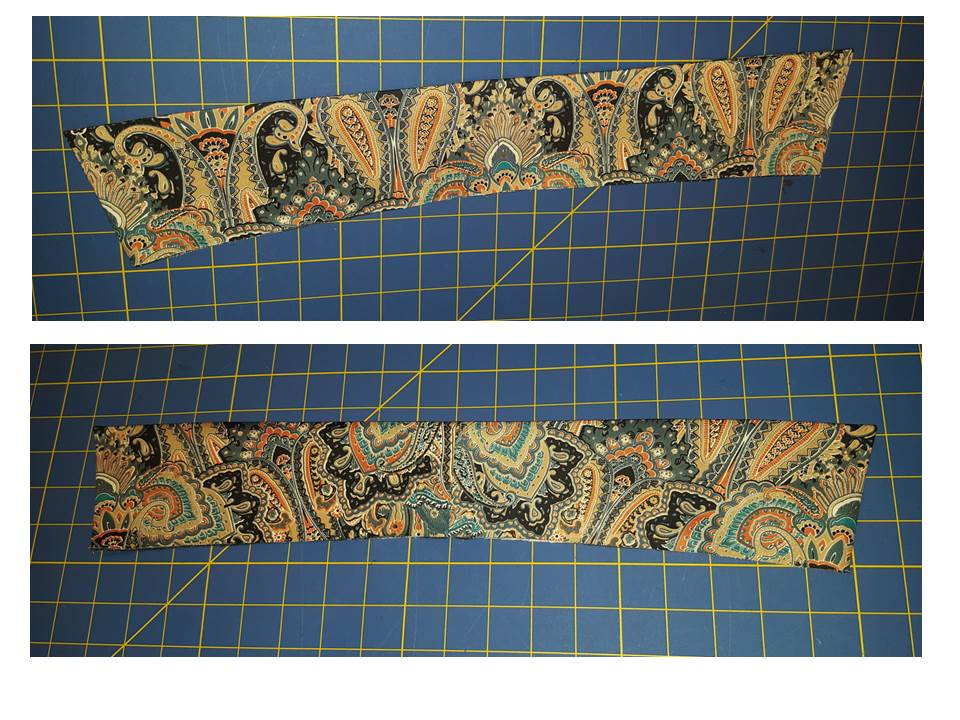
Step 6 - Turn the collar to the right side, press, and edge stitch. Below shows the collar with the center back seam as the under collar. The second picture shows the collar with the center back seam as the upper collar. You can install it either way. It's up to you. But for this shirt the center back seam side will be the under collar. (Note: sorry the photo is not as bright as the others.)

C

Great tutorial. Thanks for sharing!
ReplyDeleteThanks, I try to make it plain and simple.
DeleteI'll do this on my next shirt for me or the boy! LOL!!! Thanks for the tut!
ReplyDeleteThis is amazing! I plan on using this technique.
ReplyDelete