Showing posts with label Tote. Show all posts

Saturday, February 7, 2026

New Look Bag Pattern NL6425


One of my many creative interests is making bags.  I made these two tote bags in early December, last year.  My hope was to make matching cosmetic bags.  This effort was two fold:  stash busting and Christmas gift giving.  Well I was successful in the stash busting, but I didn't finish the cosmetic bags to complete "my gift idea".  So, these two beauties are still taking up space in my sewing studio.  BTW- I still plan to give as gifts.


I used New Look NL6425, view A and B, with modifications.  New Look didn't give any view descriptions.  These are really basic lined tote bags.  There are no inside pockets.  

The instructions are the easiest.  Nothing confusing in them.  Great pattern for beginners to try.  I like that these totes came together quickly.  


The little tabs at the bottom were just a little challenging.  I wanted to get the placement just right for the pattern design of the fabric.  I think it good, not perfect.


From my stash are two remnant heavy cotton fabrics that I purchased at JoAnn's several years ago.  The straps are also from my stash.  They have been waiting to be used for over 15 years.  I am thrilled that I finally used them.

These totes do look like the illustration on the envelope with the exception of the straps.   I also, added a covered cardboard insert to help keep the shape of the bottom of the bag.


My changes were basic:  straps, strap loops, and bottom insert

These are very easy totes to make.  This pattern is a great template to make a variety of different bags:  appliques, patchwork, overlays, etc.  The possibilities are endless.

I recommend this pattern to all level sewists.


Friday, February 6, 2026

Pattern Review for Student Project - Simplicity S9308


This is the bag I made for the class.  Photos of students are not allowed to be published.

Today's pattern review is Simplicity S9308.


I'm kind of working backwards on the student projects for middle school beginner sewing class.  This tote bag project is made the 3rd/4th week of class.  Before we start on this project, the students have had a few lessons: 

  • some hand stitching exercise that include various stitches and how to sew on a button
  • a hand stitched project
  • how to drive the sewing machine, including threading and practicing various stitches
  • introduction to appliques and embellishment


This tote bag is a very simple tote bag project.  It has good basic pattern pieces that a sewist could create many different versions with no problem.  An all around great basic pattern for students

Simplicity describes it as:  tote bags in three sizes.  For the class I used the largest size.  And for the most part, the bag did look like the illustration.

In my lesson, the students learned/practiced several things:

  • seam allowance
  • top stitching
  • how to create and sew on an applique
  • how to press to achieve a polish look
  • how to assemble a project from start to finish


Now for my class, I changed the instructions to have the pocket on the outside instead of on the inside of the bag.  This change was to reinforce the lesson on applique/embellishment.  It also gave the students an opportunity to practice topstitching.  The rest of the instructions were followed as per the guide sheet.  


For the appliques - I created several templates for the student to choose from.  Some are pictured below.


In conclusion, this very basic tote bag is a great beginner project.  It has great bones and possibilities for many different versions of the tote.  I highly recommend it for all level sewists.

Happy Sewing!
C


Thursday, January 25, 2024

Copy That - Inspiration from Coachtopia Part III


Hi everyone,

Today, I'm posting my part III of my “Copy That” inspired by Coachtopia Cloud Tote.  First, let me say it has been so much fun making these tote bags.  There is so much you can do with a simple pattern.  You can elevate the look using fabric or by adding design elements to make it stand out.  And then sometimes it can be about making it more functional for your personal use.

Warning - This post is long.  I want to provide details on how I made the second and third tote. So here goes.

Tote #2 - Faux Fur with non-stretch knit "looking" wrong side.  The lining is a polyester taffeta that I purchased at Joann's Fabrics.  It is tightly woven and feels like a waterproof textile.  Very sturdy and perfect for the lining.

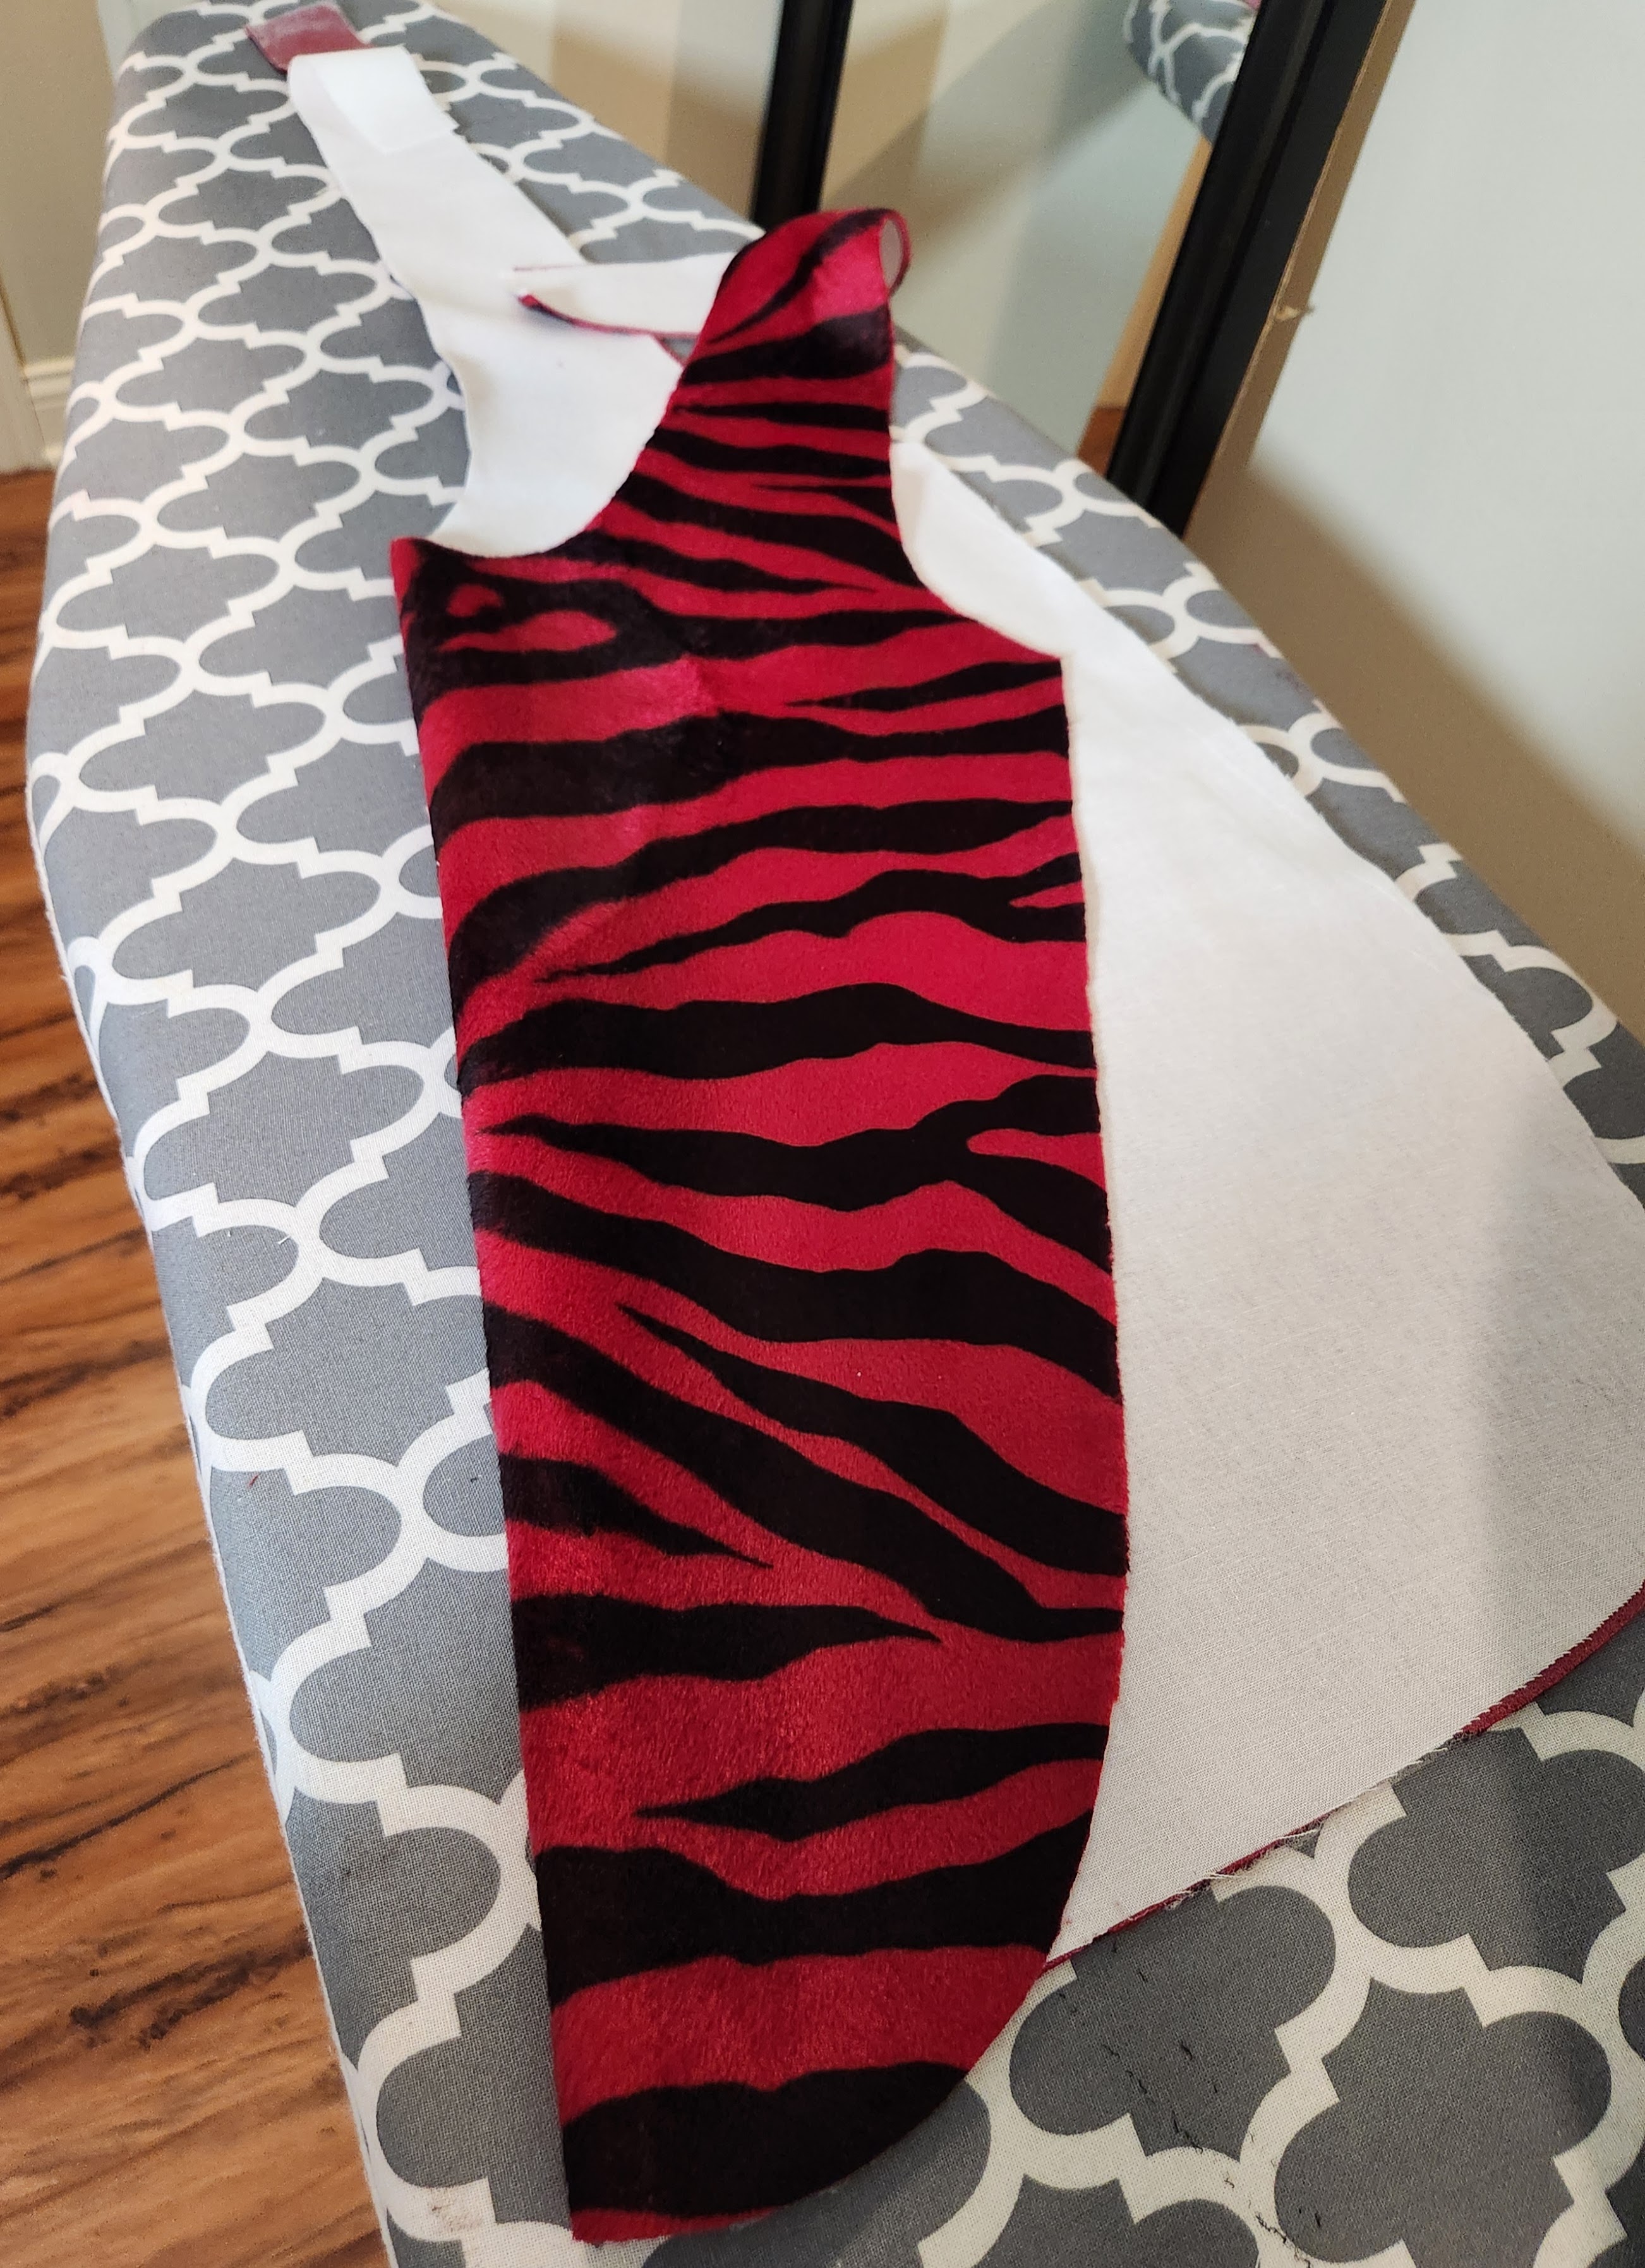
I purchased the faux fur from the Textile Warehouse in Chicago (West 21st near Damen Avenue).  It is a fun, funky animal print in hot pink and black.  Upon examining the back of the fabric, I thought it might need an additional layer of support.  So I used a double sided fusible web to adhere a cotton broadcloth to the wrong side of it.  This process added durability to the tote.

After I cut out the tote, I fused the web to the wrong side of the fabric following the manufacturer's instructions.  Below are a few photos that I managed to take during the process.


I wanted my tote bag to have some pockets.  Using the lining fabric, I cut two pieces of fabric, the same size, to make a doubled layered pocket strip.  After sewing the pocket strip to the bag lining, I then sewed four more vertical lines to make two large pockets and two small ones to hold pencils and pens.  For the smaller pockets, I also sewed a horizontal line across them to prevent the pencils/pens from falling too far into the slot.   

(PLEASE NOTE:  POCKET CONSTRUCTION PHOTOS ARE OF THE THIRD TOTE. DIFFERENT COLOR.  I FORGOT TO TAKE PICTURES OF THE PROCESS USING THE BLACK LINING. LAST PHOTO SHOWS BLACK LINING POCKET FOR THE FAUX FUR TOTE.)


Once the broadcloth was secured to the back and the pockets/label were sewn on, I was ready to put the tote together.  

First, I sewed the body of the bag and lining together using a 3/8" seam allowance.  At the top of each side of the tote bag and lining, start sewing 3/8" from the top.  At the bottom curve of both, I sewed a second row of stitches to help prevent break through.  


I also sewed the straps together.  Next, I pressed both and turned the bag to the right side leaving the lining with the wrong side on the outside.  Then I slipped the lining inside the bag matching the straps and the front and back curve of the upper body.  Next, I pinned the two together; then sewed along the straps and upper part of the bag together.

The last step made it easy to add the bias tape to all of the raw edges of the tote bag.  To make my bias tape, follow the instructions in this link.  I cut my tape about 1.5" wide.  For the bias tape, I used a remnant of black silky polyester lining.  It was easier to work with than the taffeta.  The taffeta has almost  no stretch or give on the bias.   So once I had made the strip of bias tape, I folded it in half and pressed it.  Next, I sewed it to the wrong side of the bag along all raw edges keeping them even and slightly stretching the bias tape along the curve areas of the bag.  At each end I left about 1" (loose bias tape) as the ends needed to be sewn together to complete the circle.  There will be three separate sections along the opening and the straps of the bag that require this finishing.  Completing the circle of the bias tape edge was a little tricky; I ended up slightly overlapping them tucking the raw edge of the outer tape under to finish with a folded edge (if that makes sense).  Before rolling the bias tape folded edge to cover the raw edge, I trimmed away about half of the seam allowance to help make it easier. The folded edge of the bias tape should at least cover the seam line. 

Once that is done, Press using a pressing cloth.  Make sure not to flatten the pile of the faux fur.  That's it for this version.


Tote #3.  I used a slightly different method of constructing this tote.  First, the fabric I used is a quilted nylon with a fleece like backing also from the Textile Warehouse.  I added a broadcloth to the wrong side for this version.  Same process as the faux fur version.  The lining was also a taffeta that I purchased at Joann’s. 

I used the same construction process to make the pockets and to sew the lining and bag together.  But instead of sewing the wrong sides together to add a bias tape.  I followed the instructions given by Made Everyday.com Here is the link.  It was pretty easy.  I finished it with top stitching along all edges. 


I hope this was helpful.  Happy Sewing!

C


Monday, August 14, 2023

Simplicity S1387 and Kwik Sew R10826


Here we go with a new pattern review!  It's all about bags: tote and cosmetic bags.  This set makes a lovely travel trio.  One morning I was getting "reacquainted" with my sewing studio, looking at all my fabric, patterns, notions, and findings.  There are too many projects already cut and ready to sew, but I wanted to make something that would be a "quick sew".  The bags were easy to make for sure.  But by the time I decided which bags to make and pulled together all the required notions and fabrics, I very well could have sewn a few UFO's together.  Lol


Part I

All in all, this bag project was a good one.  So let me start with the tote.  I used Simplicity S1387, view A.  It is an over-sized tote with fabric straps and two snaps.  The pattern design finishes with a triangle like stitched line design that continues from one end of the bag to the other. 

The tote can be adjusted to appear smaller by closing the snaps on either end of the upper edge of the tote.  Great for travel. 


The bag looks like the photos on the pattern envelope.  It can be carried on the shoulder or by the straps.  It is sturdy and attractive.  With the snaps closed it  looks like an over-sized purse.  So there are lots of style options and fabric (leather) choices you could choose to design your very own unique tote.


The instructions were very easy, and I didn't find anything complicated about the construction process.  There is one thing I'd change about the straps though.  The design suggest that you use fabric for the straps and use wide braid to finish them.  I think webbing would be better.  

I love how this bag turned out:  the roominess, the collapsible sides, my fabric selection.  No really dislikes.

I used home-dec canvas like fabric (Joann's) for the exterior and broadcloth for the interior.  Both were in my stash. The bag also requires fusible batting and stabilizer (Pellon 808).  For the patches that go over the ends of the straps, I used some faux leather that was also in my stash (Hancock's Fabrics).  

This was the very first time that I used this pattern.  So I wanted to follow the instructions and design just to test out using it.  So, I only changed the wide braid to a sturdy ribbon that I already had in my stash.  I will probably use it several more times.  For one, I want to try a few of the other views; and two, these totes make an excellent gift idea.


In conclusion for the tote bag, I love how it turned out and recommend it to others.  The pattern has good bones and can be used to make some lovely totes and bags.  


Part II

Kwik Sew Zippered Cases pattern R10826 was equally easy to construct.  I made views A and D to complement the Simplicity Tote.  I used the left-over from the tote to make these.  They are perfect for toiletries.

Both bags look like the photo on the envelope, and they were very easy to sew.  Like the tote, they required fusible batting to add stability. 

Here again I didn't change or alteration the design.  Sticking to the instructions for the first time just to get a feel for constructing small bags like these was a good exercise.  I enjoyed the process.  

I like how they turned out and will definitely make them again.  All three bags were fun to make, and I was able to used some of the fabric and notions in my stash.   Plus, the bags look pretty good!  Win, win!

Happy Sewing!

C


LinkWithin

Blog Widget by LinkWithin