Today I'd like to share a small tutorial on making your own bias tape. It can be used to finish seams, to bind exposed raw edges, at hem lines on sleeves, dresses and skirts. Making your own increases the your option for fabric selection and width of the binding.
Ron Collins demonstrated how at the Power Sewing Retreat. And he bought many of his garments where he used bias tape to finish the seams and/or to add interest or uniqueness to his garment. Of course, we all want that.
Here's how:
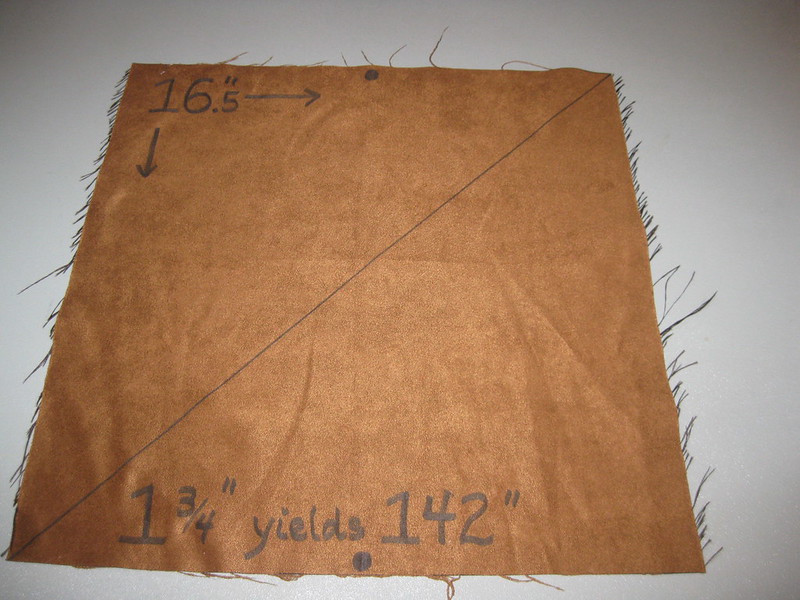
1. Cut a square 16.5” by 16.5”. This will Cut a square 16.5” by 16.5”. This will make 1 ¾” bias tape yields 142”.
2. Draw a diagonal line from one corner to the other.
3. Place a dot in the center of the top and bottom edges.
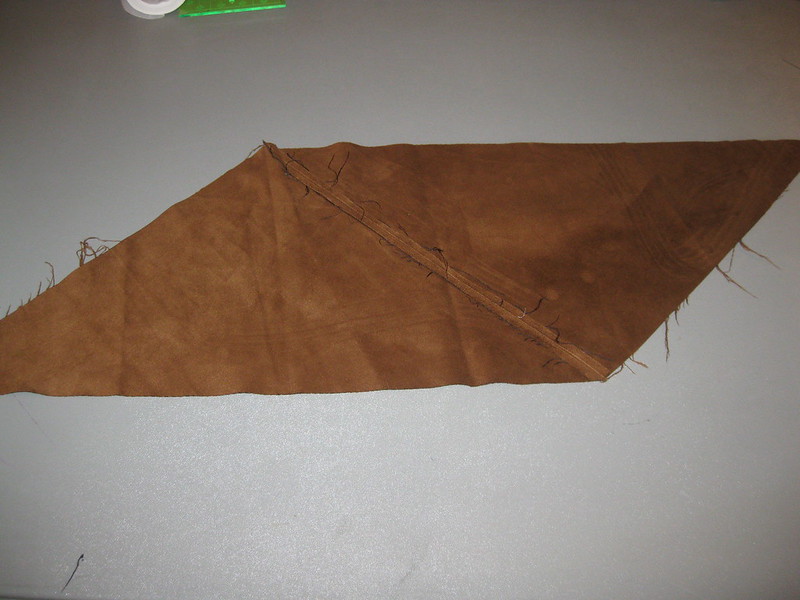
4. Cut along the diagonal line to make two pieces of fabric.
5. Join the two pieces of fabric so the dot are aligned. See the next slide.
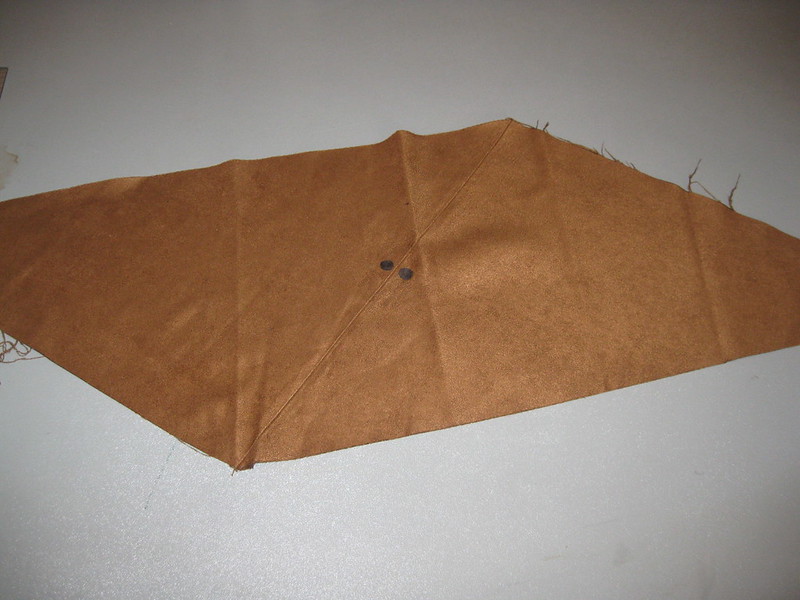
6. Press open seam.
7. From the right side it should look like this.
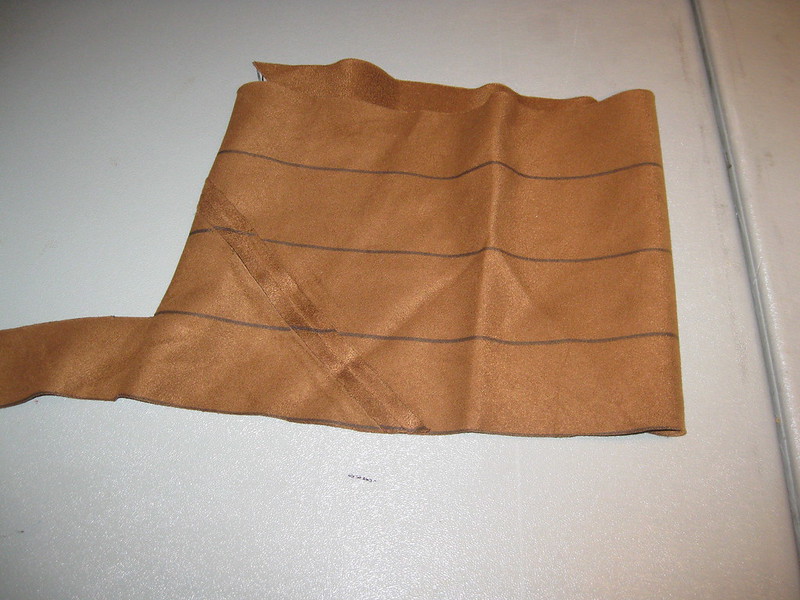
8. Now, on the wrong side of the fabric, draw lines 1 ¾” apart.
9. Join ends lining up the cutting lines.
10. Cut along line to create the bias tape.
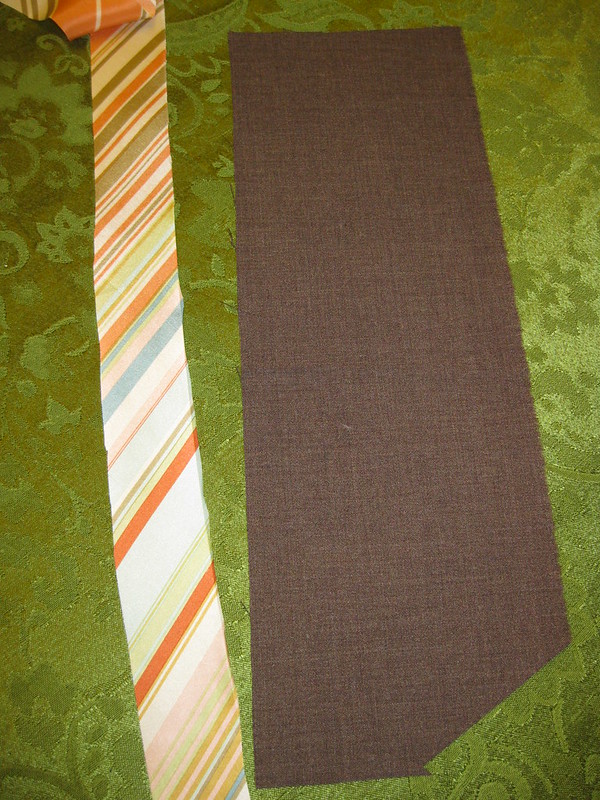
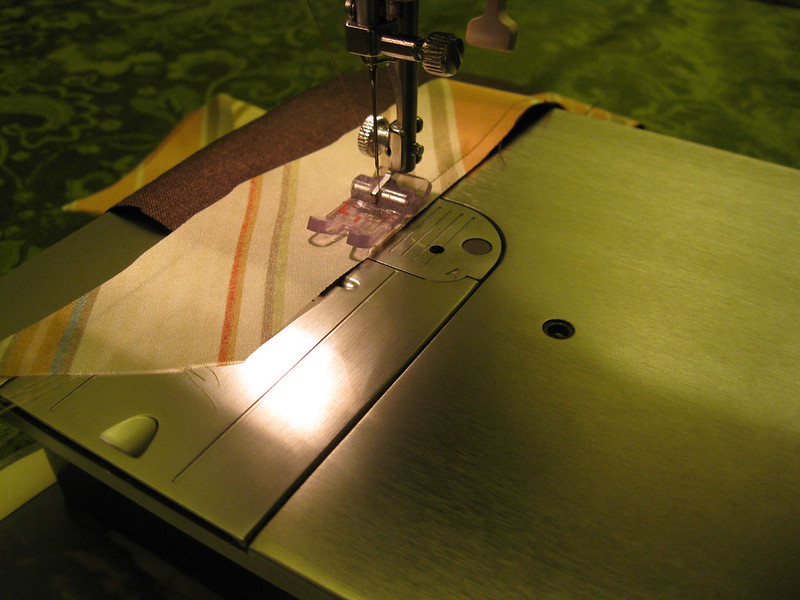
11. Now sew the bias tape to the edge of the seam allowance (about 1/4” seam allowance)
11a. I used the edge of the foot as a guide to measure the width of the seam allowance.
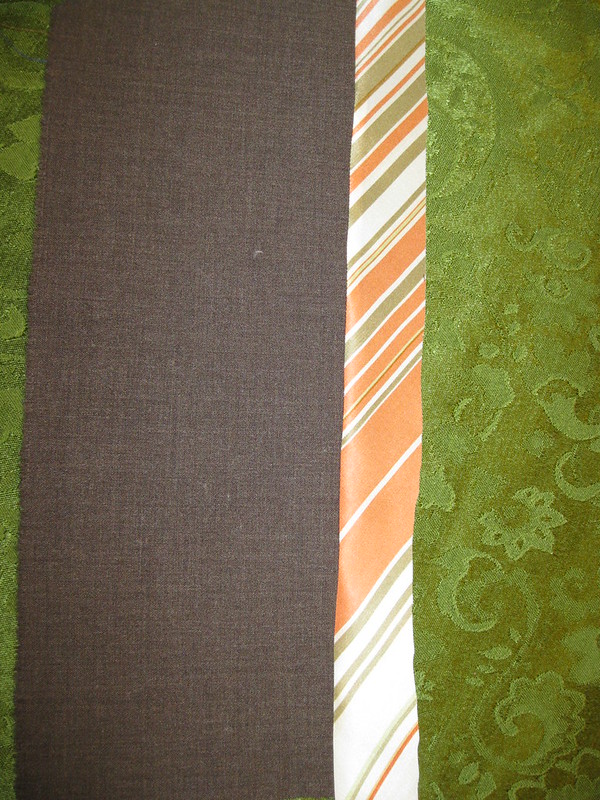
12. Press with seam allowance against the bias tape.
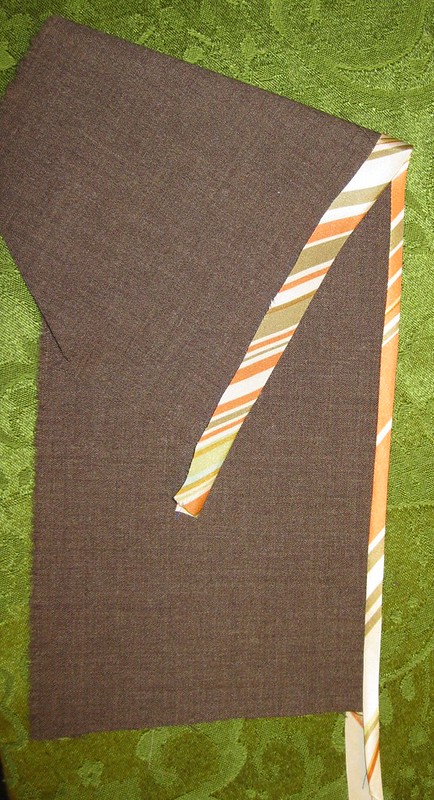
13. Wrap bias tape around the seam allowance.
14. Top stitch the bias tape from the right side of the fabric
The bias tape can be applied before or after the seams of the garment are sewn.
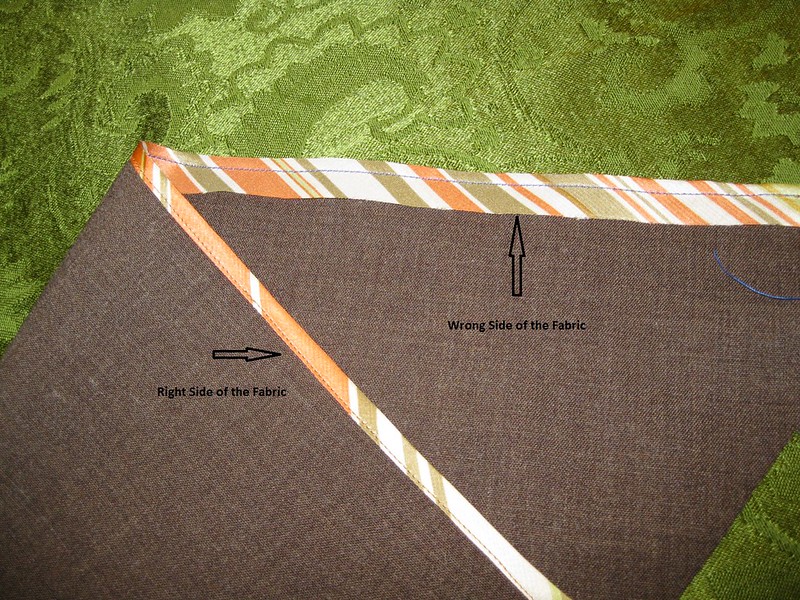
This illustration shows the wrong and right sides of the fabric. The binding from the wrong side has the raw edges exposed. We can trim the excess off or you can fold in the raw edges using a bias tape maker.
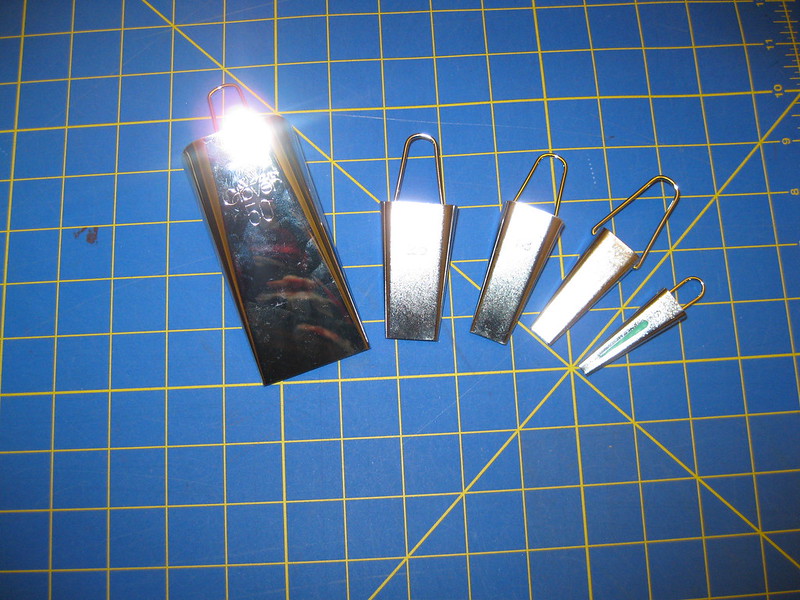
I purchased a set of bias tape makers on eBay a few years ago. The sizes are: 50, 25, 18, 12, and 6. These can make a variety of sized tape for binding seams and making trim.
Simply thread the fabric through the largest opening. Slowly through the fabric through the other end while pressing. It's fast and easy.
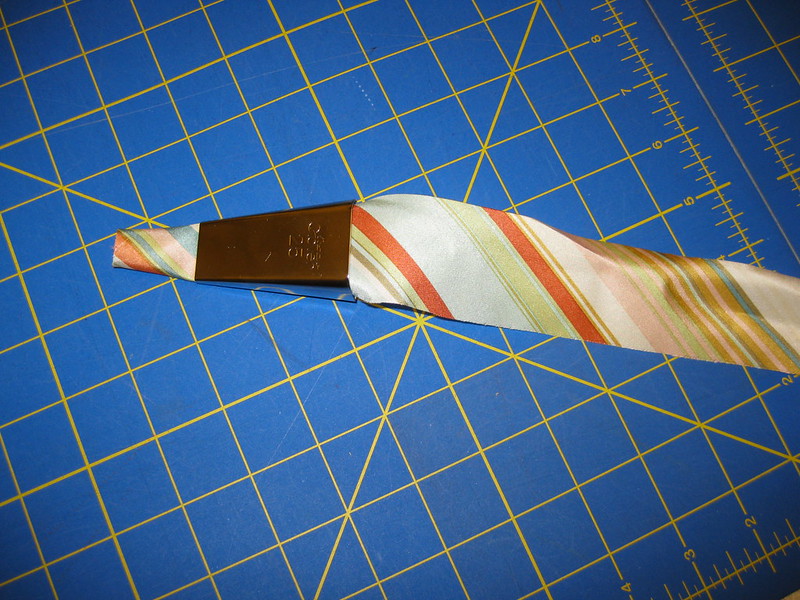
Bias tape made using 18 BT maker. I folded it in half to apply to the raw edge of a seam.
I love the finishing of this unlined jacket made by Ron Collins (Power Sewing Retreat 2012).
Happy Sewing!
C


Great tutorial. Thanks
ReplyDelete31odgedmiThank you so much for the tutorial!!! I will definitely use this method on my next project, and unlined coat.
ReplyDeleteloymThank you for the tutorial! I am going to try this method in an unlined coat that I am making.
ReplyDeleteThanks for the tutorial!
ReplyDeleteBeautiful! And very handy to know I don't need to cut out a whole yard of fabric to get a long bias strip. Okay...that coat detail is amazing!
ReplyDeleteLove the colours & thank you for this great tutorial!
ReplyDeleteWonderful tutorial! I had a sewing teacher show me this method once and could never remember it. Thanks a bunch!
ReplyDeleteYour step-by-step really clarifies how to make bias tape. Thanks!
ReplyDeleteThat is such a sharp detail...I love the contrast stripe fabric! It's a little secret that no one else sees and can make you feel special.
ReplyDelete