Showing posts with label button down. Show all posts

Thursday, July 6, 2017

Blast from the Past - Paisley Sateen Shirting - McCall 7575


Sometimes, the "ole school" in me comes shining through.  Even in my fabric picking.  Remember, way back in January when I came to New York to visit with my sewing friends.  Our first stop on our fabric shopping spree was at Mood.    I bought two yards of this gorgeous paisley print sateen, and I knew exactly what I was going to make.


I was seriously, hoping that it was available at the online store and it is.  Appropriately named:  Pacific Green Paisley Printed on Corded Cotton Sateen.  It has a little stretch to it with a soft hand.  This colorful print is recommended for spring and summer garments, but I think it's also perfect for fall and early winter.  It can be layered with jackets and cardigans.

If you've been following on my blog, this shirt is part of a series of shirts that I am making.  The goal is to perfect my shirt making skills and to jazz it up a bit along the way.  You might find these posts of interests as well.


Lowering the Dart and FBA - McCall 7575

McCall 7575 - The First Edison

Mood Gold Stripes - Vogue 8747

For this shirt, I used McCall's 7575 again.  I will probably used this pattern a few more times over the course of the next few months.

This time around, I made view D with a collar, no tabs.  The only differences in this shirt is that it is longer, I didn't add an inch to the sleeve length, and I used a contrasting black sateen from my stash for the neckband, yoke, cuffs, and pockets.   The constructions process is virtually the same as detailed in my post "McCall 7575 - The First Edison".    

As I learn to make better shirts, my desire to use better fabrics as increased.   I've found that Mood has vast selection of shirting fabrics available online here.   And I kid you not, every fabric that I've purchased has be absolutely beautiful and great to work with.

So, if making your own shirts is on your list on sewing projects, take a look at the selection available at Mood.  The selection is huge and you are sure to find some great textiles for your projects.


Happy Sewing!
C

Sunday, May 28, 2017

McCall 7575 - The First Edition


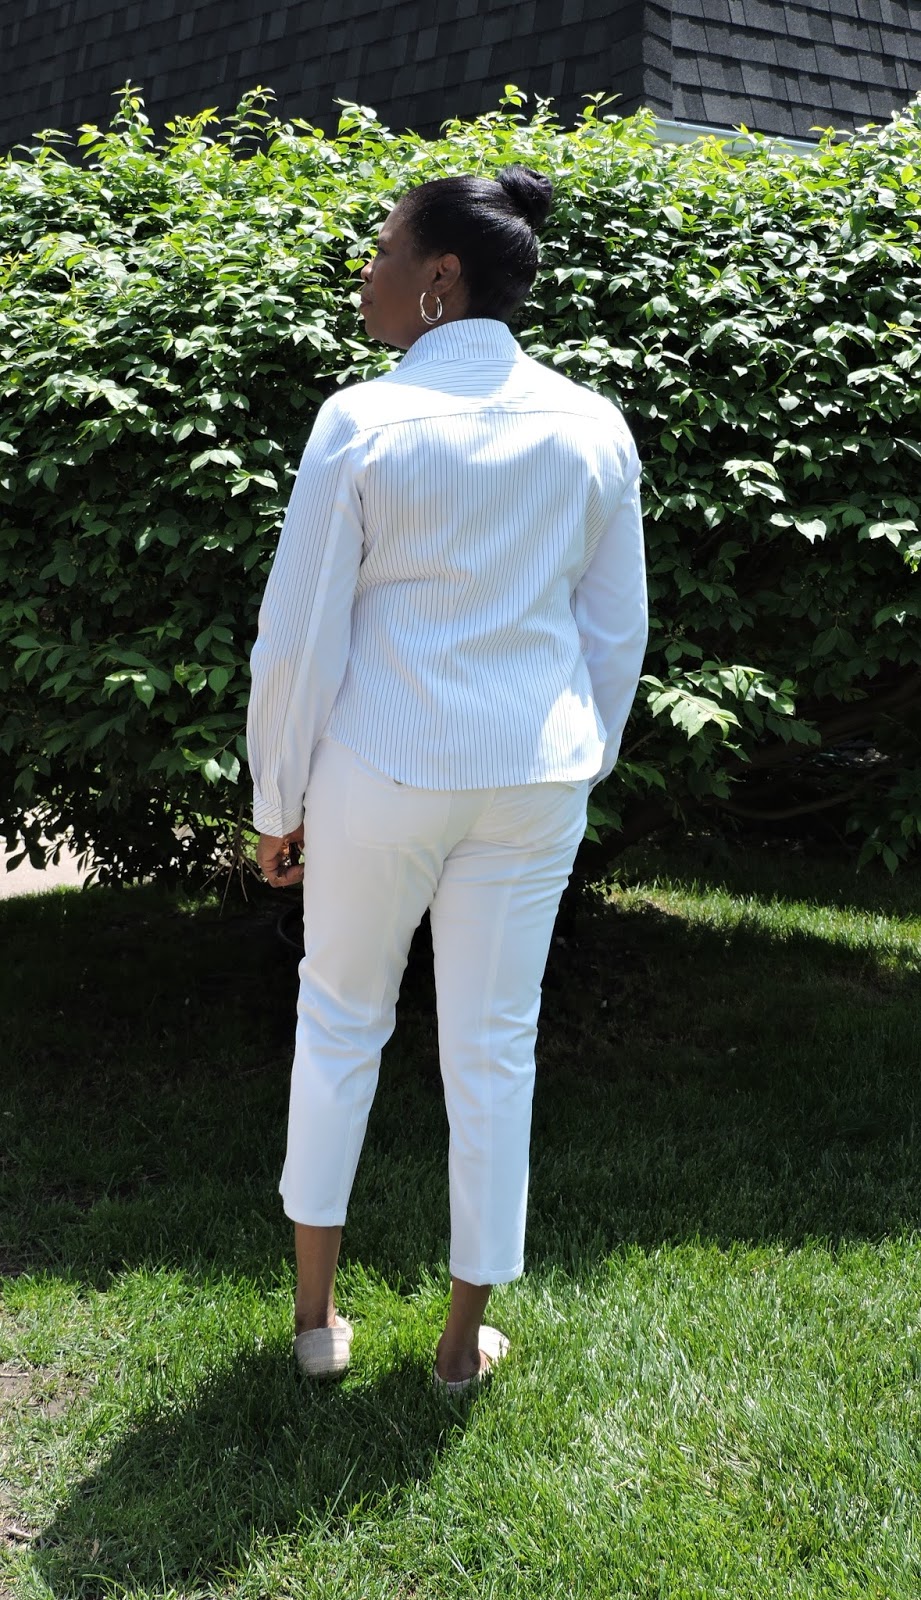
The sun was shining and the sky was bright and clear.  Perfect afternoon to get pictures of my new McCall's shirt.   I called this post "The First Edition" because I can see myself using this pattern over and over again.  The shirt went together smoothly.  No problems or issues.


This is one of the new patterns released this year.  It's described as:  semi-fitted shirts have back yoke, collar, sleeve, hem and length variations. Sizes 8 to 24.  I used size 16 with modifications. The sewing rate is easy.  Yes, it was pretty easy.   I was able to finished it in about four hours.


This is a Palmer/Pletsch pattern, which makes the alterations easier as the adjustment cutting lines are already drawn on the pattern.  I made several adjustments.  The first is the FBA, which is posted here.
My other changes/alterations are:
  • lengthen the sleeves by 1 inch.
  • The vertical darts on the front and back were deeper
  • The lengthen of the shoulder is too long; so I trimmed about 1/2 inch away.
  • After sewing the bust darts, I trimmed them to 5/8" and serged the edges. 
  • Swayback adjustment as usual.
  • After I finished the shirt, I noticed the neck is slightly too large.  The 14 neckline is a much better fit.
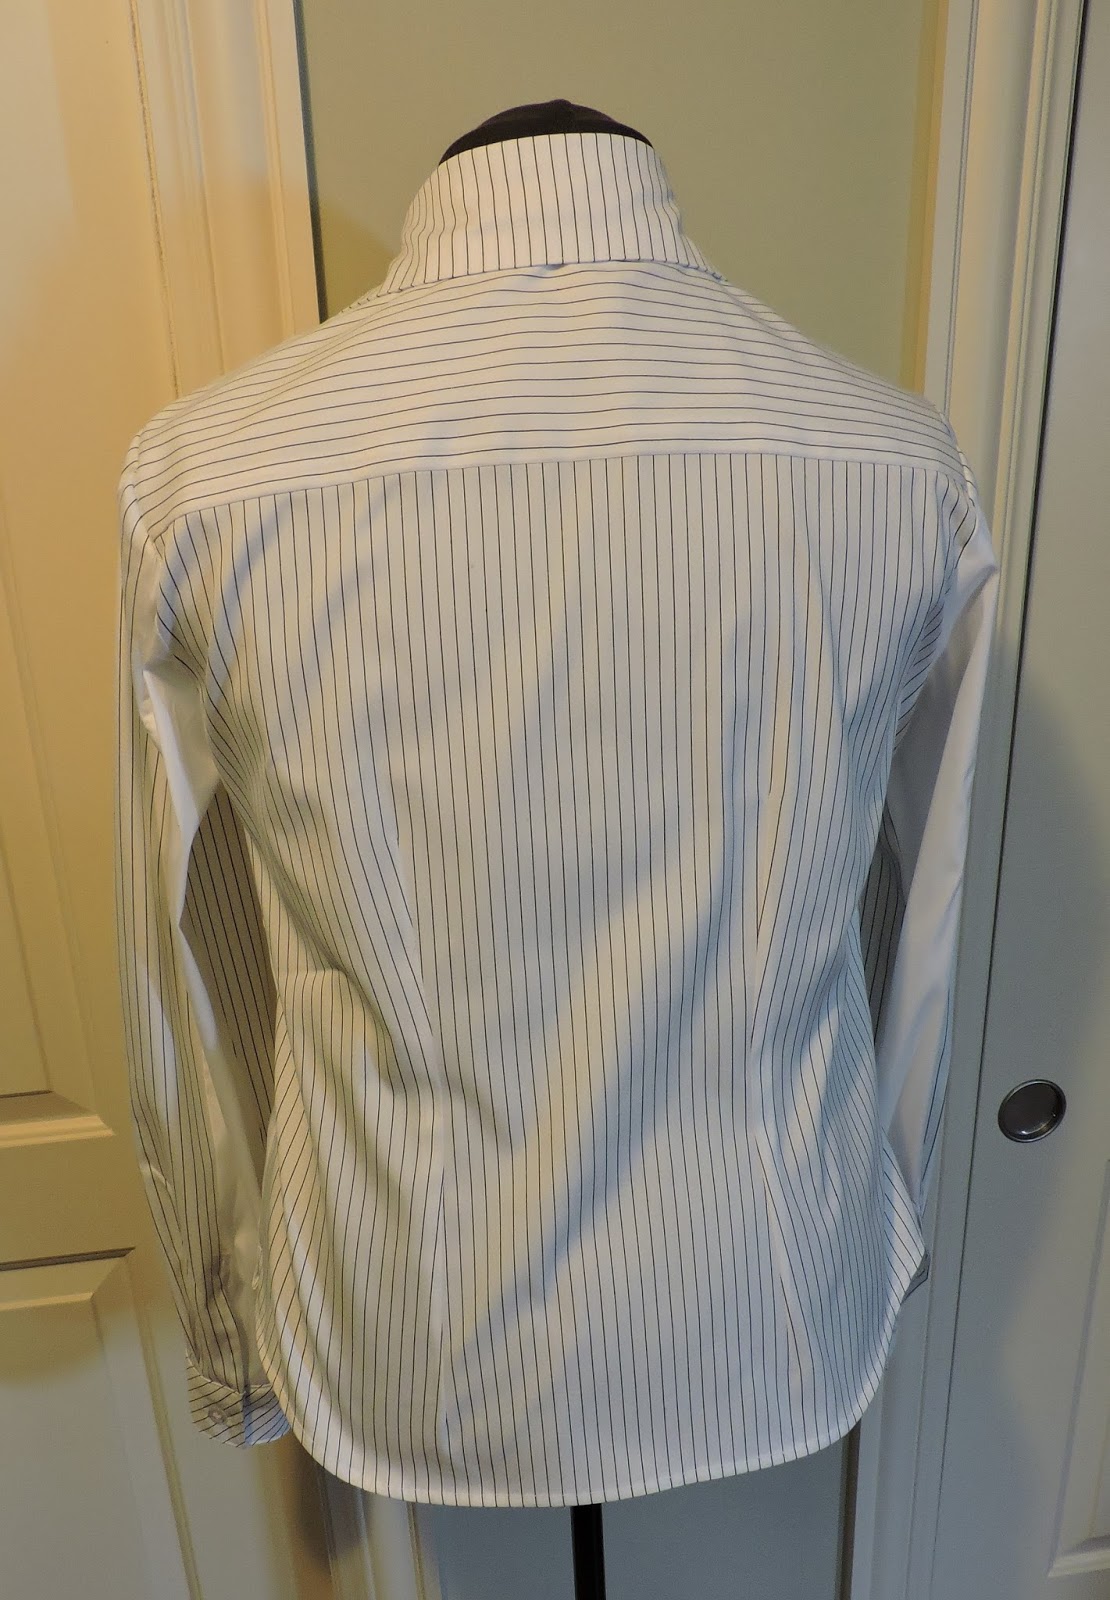
  • I used two fabrics:  The left front and the lower sleeves are white, while the rest of the shirt is a striped cotton blend I bought in Philadelphia several years ago. This was the only design change from View B.  The white shirting fabric is from Mood.  It is a stretch cotton.


That's it for changes and alterations.

The finished shirts looks a little boxier than the drawing.  But it looks like the shirt that the model is wearing.  It is less "semi-fitted" than I expected.

There are no difficult or confusing instructions.  Typical.

My likes:
  • Views B and D.  I loved the use of the stripe fabric of view B.  The length and shape of view D.
  • Fit instructions by Palmer/Pletsch is always helpful.
  • The two piece sleeve and the yoke.
No real dislikes.

I will definitely make this again.  And I recommend it to others.  This is a winner.  I'm happy with the results and will get a lot of wear out of this shirt.

In closing, please go to Rhonda's blog to check out my interview with her.  The link is here. I'm a "Material Witness on May 19, 2017".


Happy Sewing!
C

Friday, May 19, 2017

Tutorial: Lowering The Dart After Making A Full Bust Adjustment on McCall 7575

This post is to illustrate how to do a FBA on a regular one piece front pattern for a shirt.  Last week I purchased McCall 7575 Palmer Pletsch pattern because of the style lines.  The illustration shows a "fit and flare" silhouette.  Secondly, the use of the striped fabric is appealing to me.  The front band and the cuffs are cut on the bias.  I wouldn't have thought to do that for fear of the fabric stretching.  Thirdly, the sleeve is a two piece sleeve, more commonly seen in jackets.  

Anyway, I wanted to share the process of doing a FBA and lowering a dart with a slight rotation. This first picture shows the pattern envelope over the front with the FBA.


Step 1 - Slash the pattern along lines 1, 2, and 3.  Then spread the appropriate amount based on your measurement.  If the width needed is more than an inch, consider using the second leg of line 1 to create a "Y" as illustrated below.  Fill the areas with tissue paper and tape to hold the adjustment in place.  I typical don't redraw the vertical waist dart until I test to see where the dart should be placed.  In this case I may make two darts instead of one.


Step 2 - Once that is done, test to see where the bust dart falls by placing the tissue pattern against your body.  Determine how much you need to move the dart.  On the cutting table, draw three lines around the dart.  Then cut along those lines.


Step 3 -  Move the dart to the appropriate location on the front shirt.  This step will leave an opening in the tissue pattern. Before taping the dart in place, determine how you want the dart to be formed and place.  I chose to slightly rotate the dart with the outer edge rotated slightly downward.


Step 5 -  Fill the open space with tissue paper and tape in place.  Next, true up the outer edge along the side.


Step 6 -  Cut away the excess tissue paper. Now you are ready to tissue fit or make a muslin.


Happy Fitting!
Cennetta

Thursday, May 18, 2017

McCall 7445 Pants and Vogue 8747 Shirt


Finally, I'm posting photos of me in my new pants made using McCall 7445.  I posted way back in March (tee hee) on my fitting and sewing of these pants.  Now, that I have tweaked the pattern I'm moving this gem to my TNT basket for easy hands on access.


All of my changes are indicated in the first post.  But I'd like to state again that you may need to stitch of the vertical line of the pocket to eliminate any gapping in the tummy area.  Also, I re-enforced the pocket opening to reduce any stretching.  These pants are made of a stretch woven polyester blend, which I love.


I'm wearing my wearable muslin of Vogue 8747, View D.  I love this blouse and will be making it again very soon.  It's a winner.  This pattern has been review over and over again on blogs as well as on Patternreview.  One of best things about it is that there are separate pattern pieces for cups sizes A through D.  This made the fit process easier.


My changes were minimal:

  • I made a small adjustment in the bust area by increasing the length of the front band by 1/2".
  • On the front I added about 1" or so in the gathered area.  
  • For the side front, I added about 1/2" width in the bust area.
  • I made my usual sway back adjustment on the back and side back pieces.
  • Lengthen the sleeve by 1".
  • The neckline was slightly larger the than the length of the collar stand.  So I ease in the difference.
  • Also, I interfaced the upper and lower front band, collar, and collar stand.


The list seems long, but the changes were really minimal. Overall, the shirt is well drafted.  The fit in the arm, chest, and neck areas is great.  At least for me.
 

I used a polyester blend that I purchased years ago from a local store.  I think Vogue, but I'm not sure.
I didn't tag it. :-(  It was easy to work with sewing wise, but difficult to press.  I'm pleased with how this shirt turned out.  Now I'm ready to make more.

These striped pants are my kick off point for adding more stripe garment to my wardrobe.  More to come on stripes and button down shirts.


Happy Sewing!
C

LinkWithin

Blog Widget by LinkWithin